
DIY Cardboard Weaving Loom
/Weaving on simple cardboard looms was a favorite activity at our nature art themed summer camp last year. Making your owl loom is so simple and uses materials you probably have laying around your house. Even though it’s just cardboard, with a little care you can reuse it over and over to make all sorts of woven creations.
Supplies:
cardboard - the flap of a large mailing box is perfect
scissors or box cutter
glue
cotton string, twine, or yarn
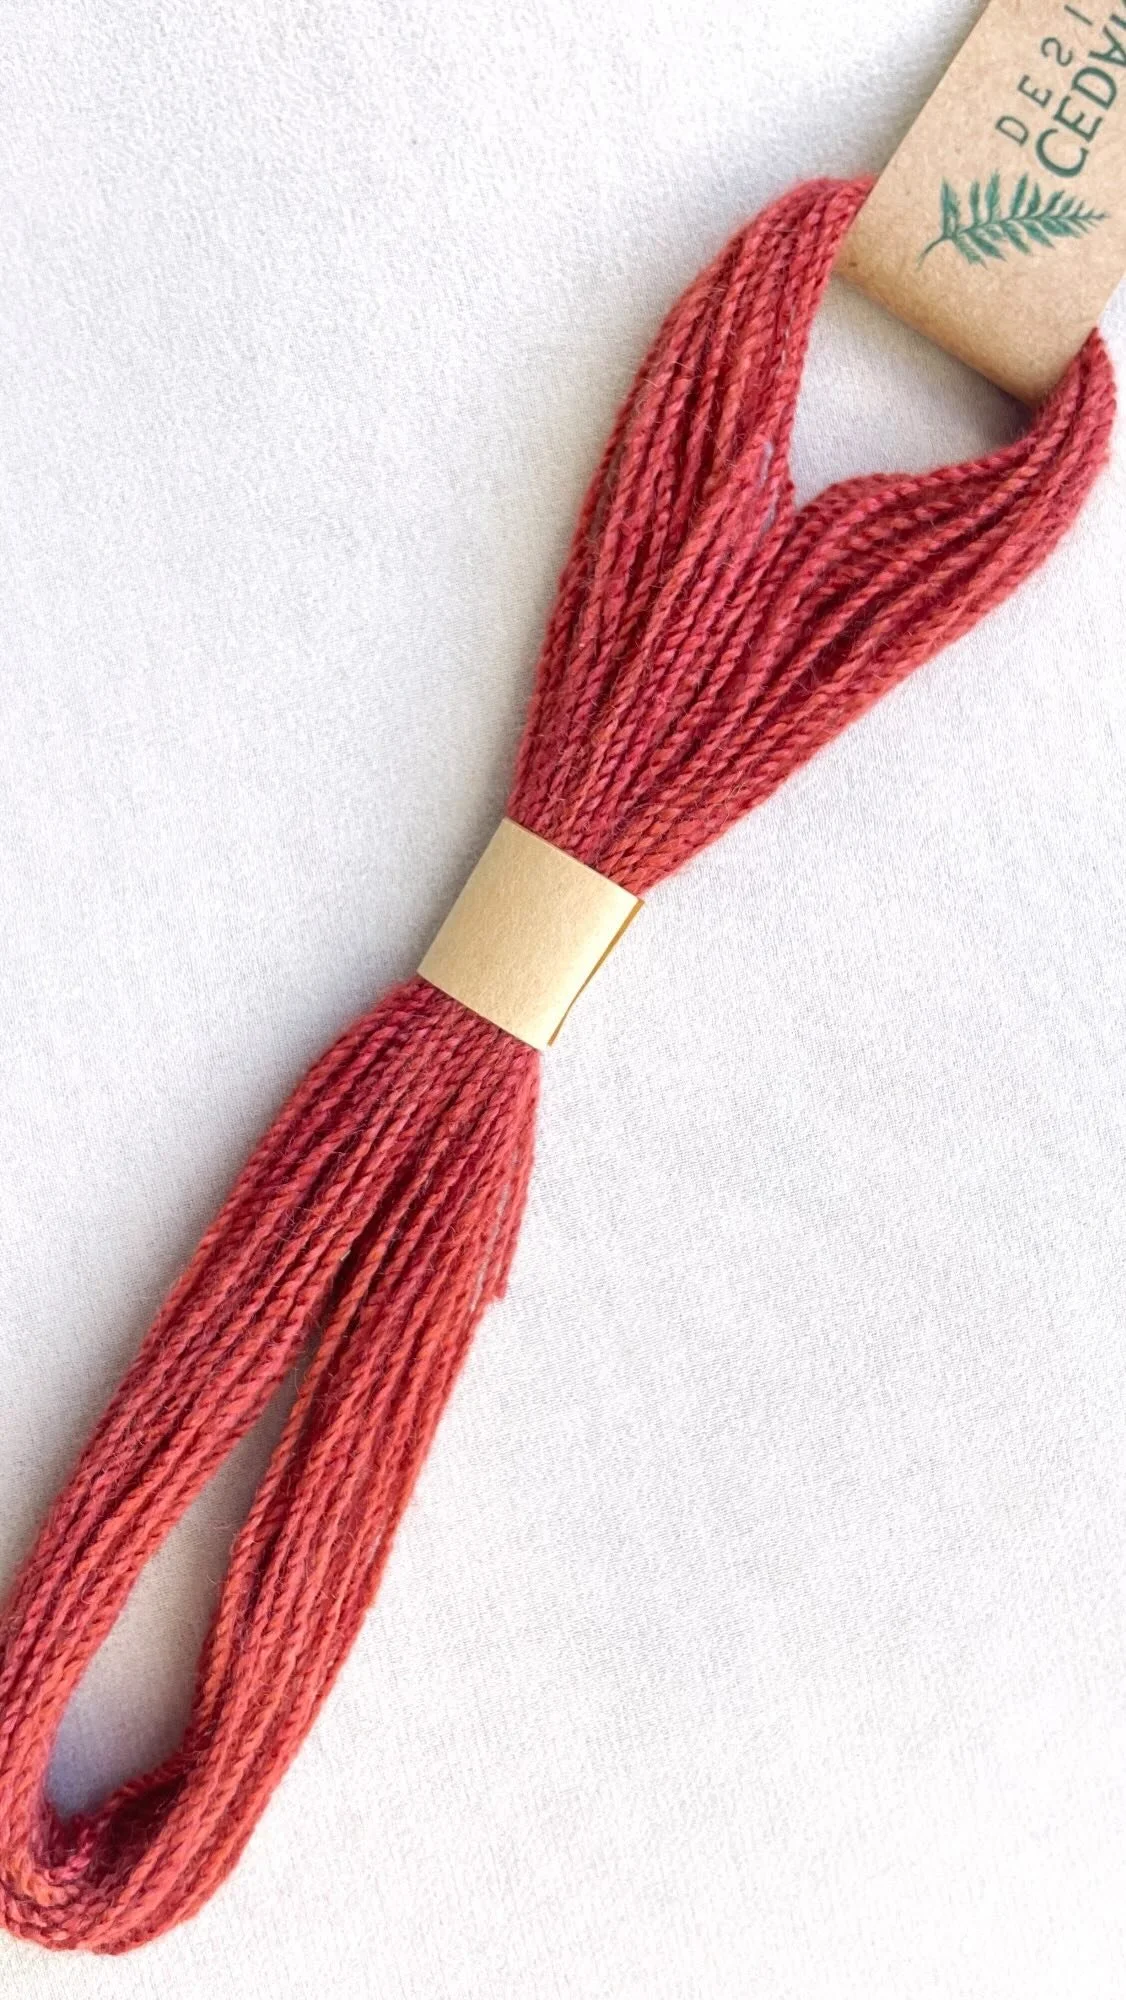
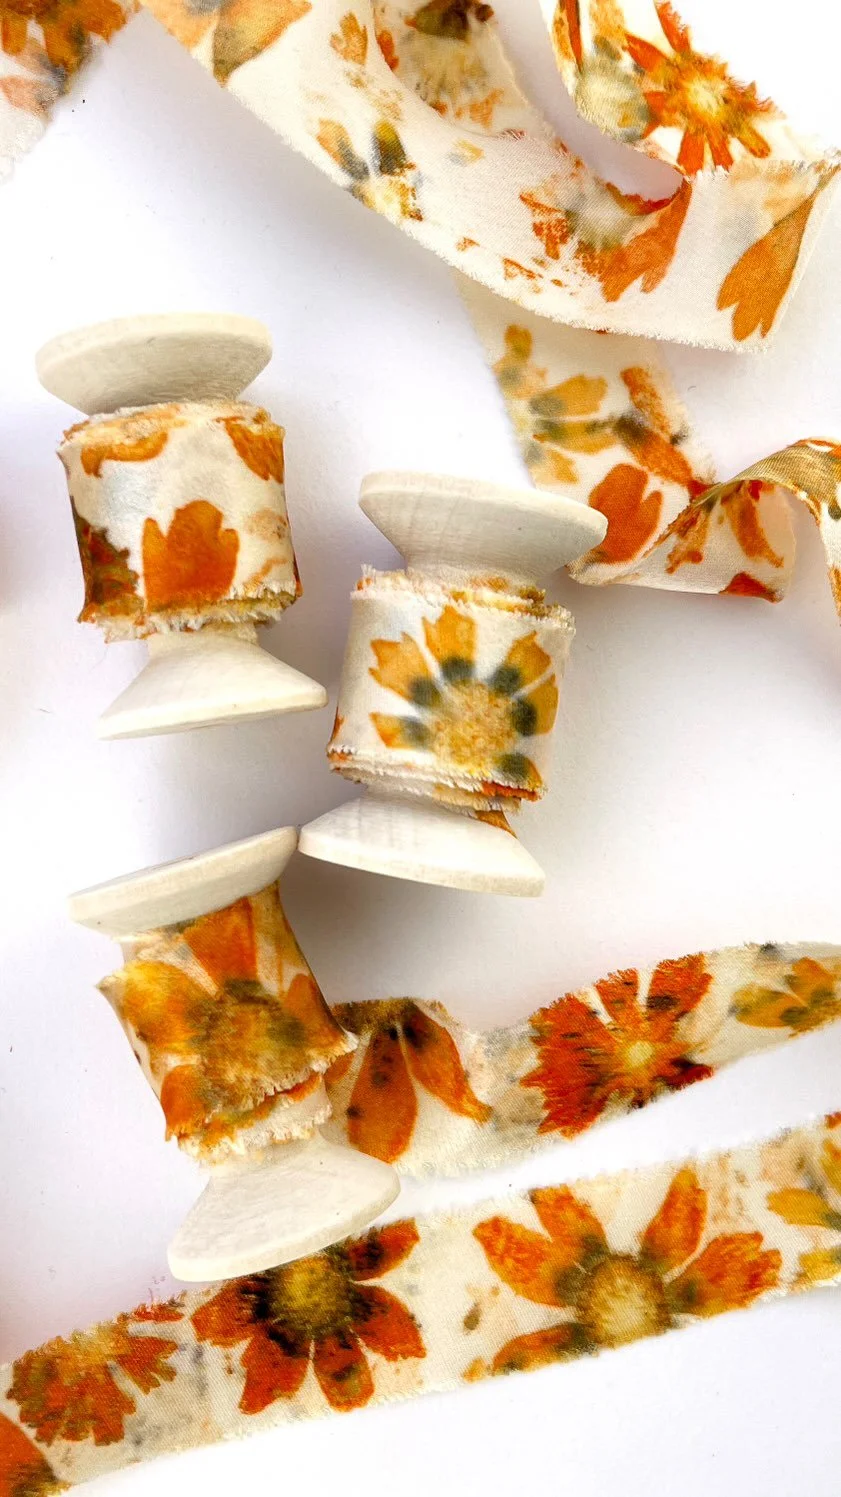
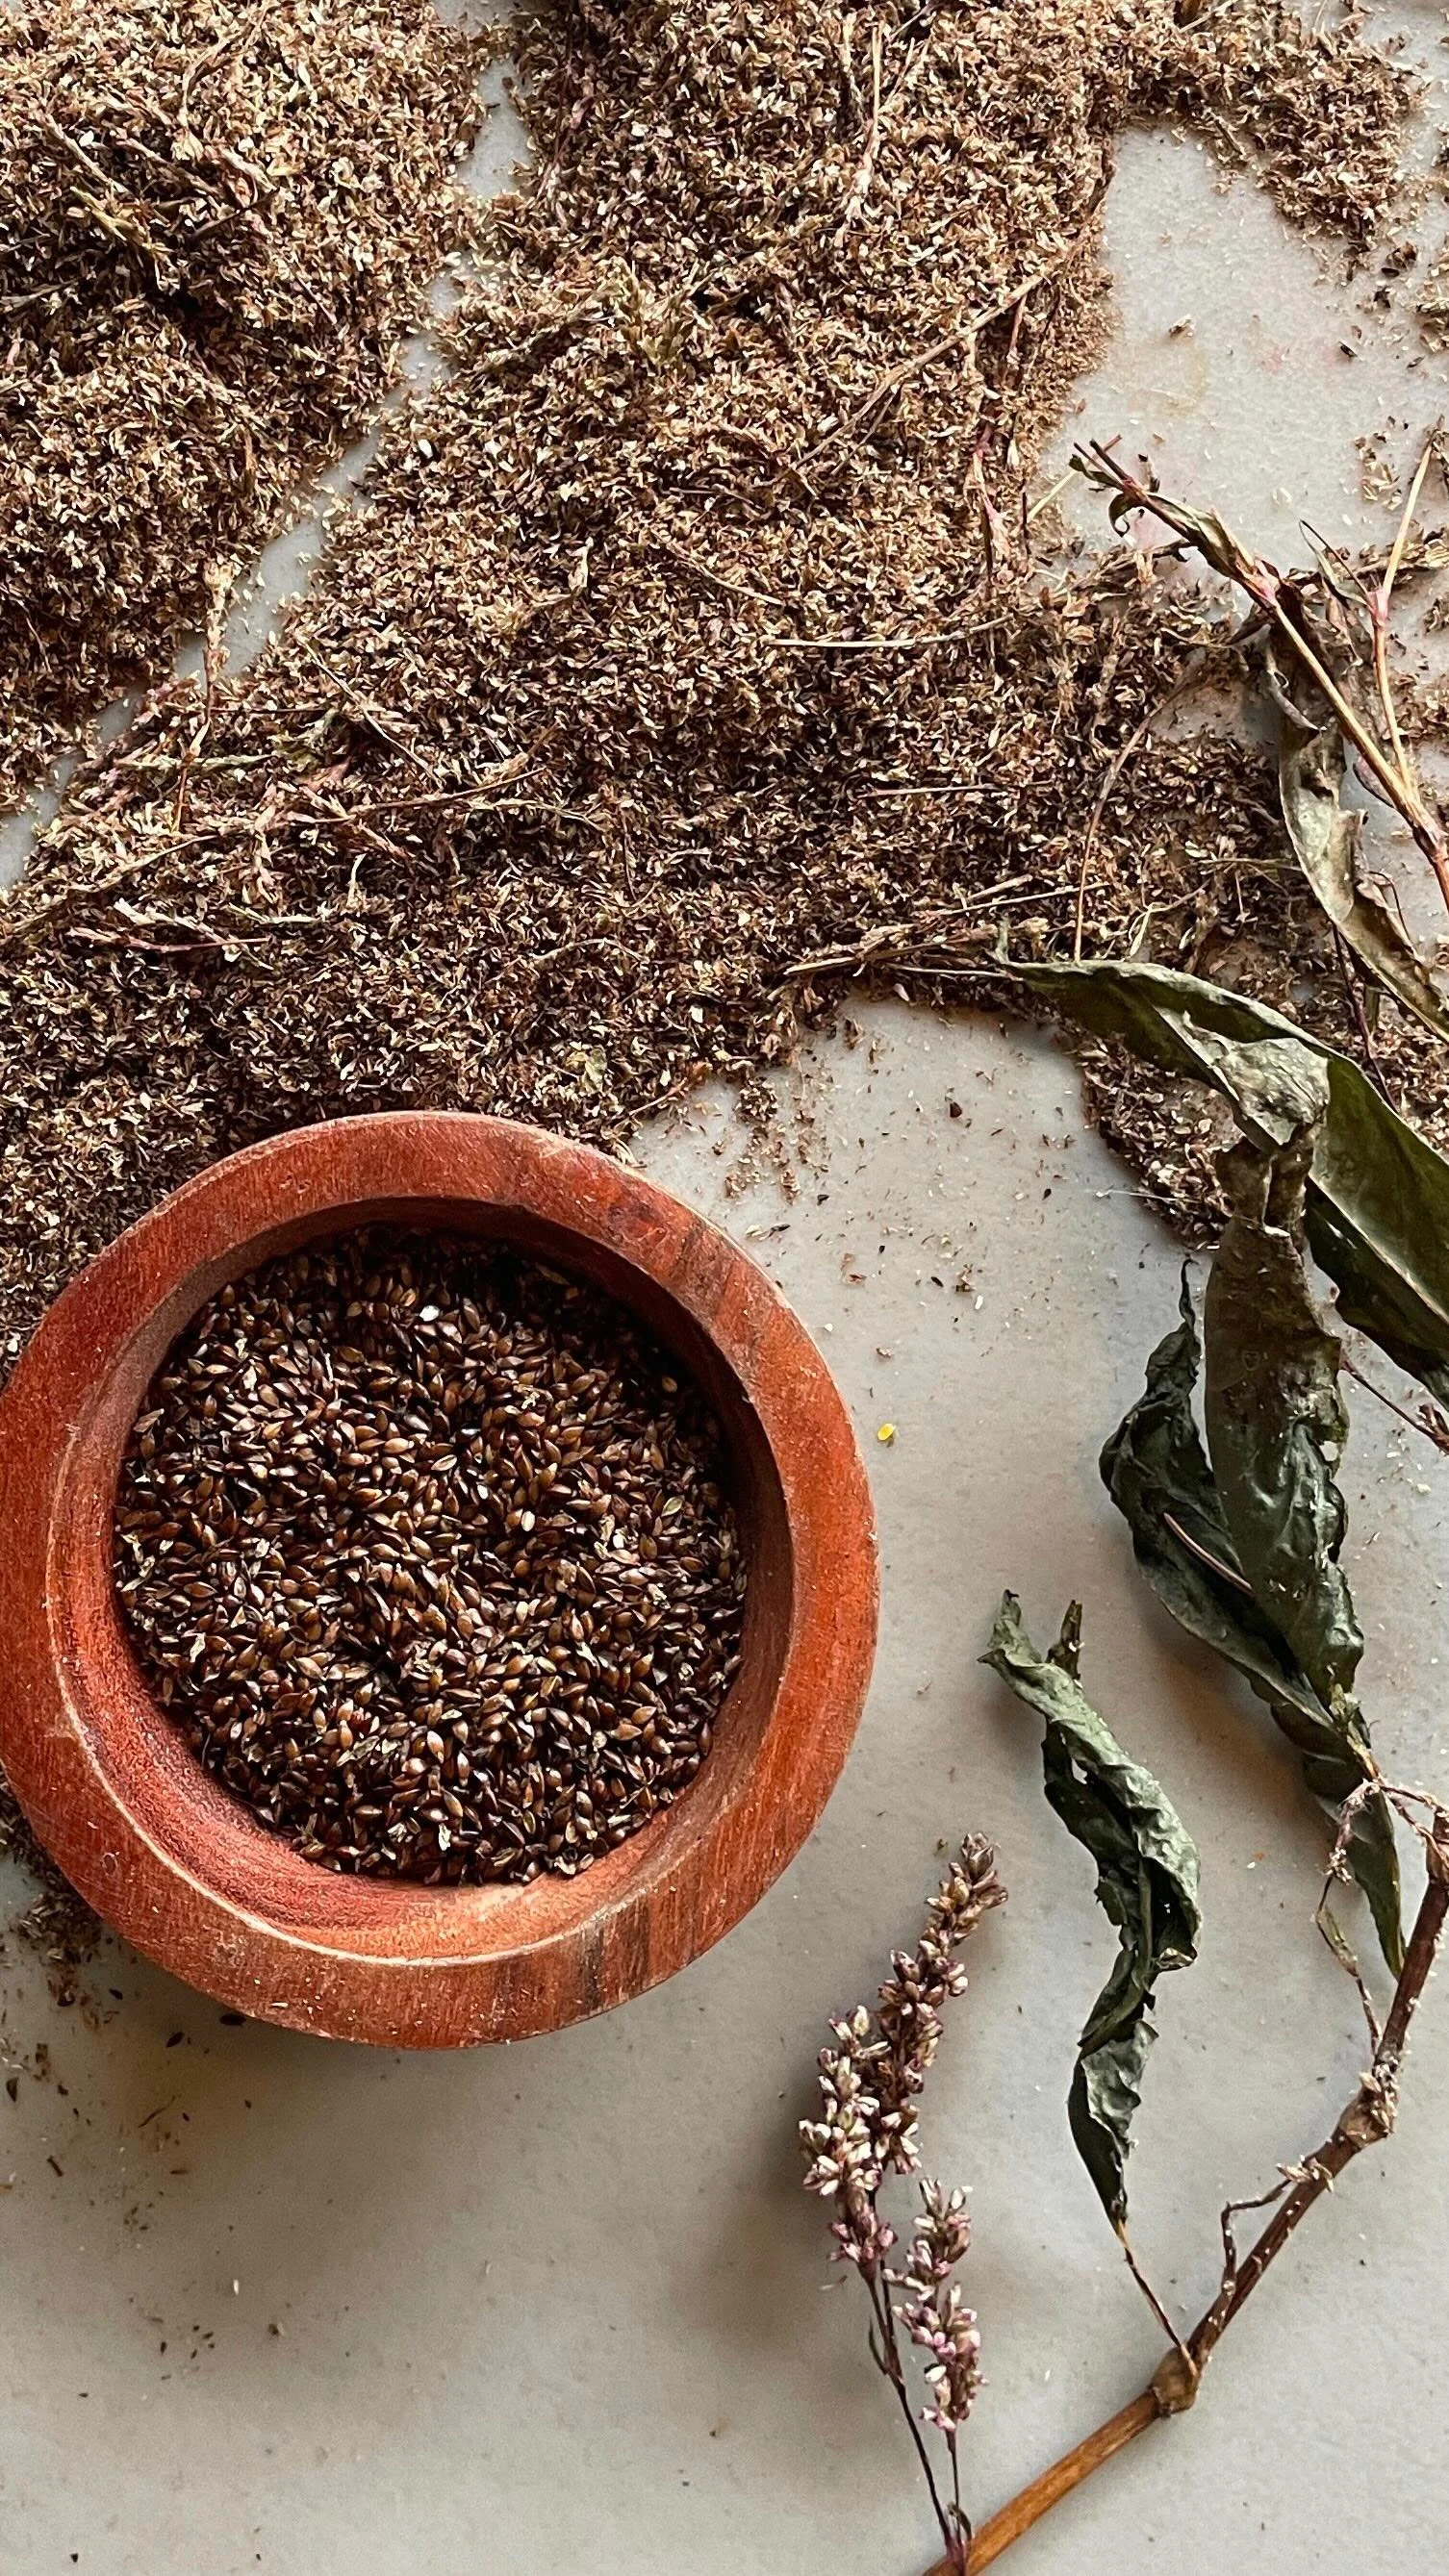
weaving materials: Yarn, strips of fabric, and even flowers, grasses and other natural items can make beautiful weavings!
Step 1: Making the Base
You’ll need a rectangle of cardboard. If you don’t have a box with a large enough flap to use, cut a rectangle from the side of a box. This piece of cardboard needs to be fairly rigid so if you only have thinner boxes, like a cereal box, try cutting a couple pieces the same size and glue them together to make a stronger piece.
It’s important to know that your finished weaving will be about 3/4 of the width of your piece of cardboard. If you want your finished weaving to be a particular size be sure to cut a piece of cardboard a little wider than that measurement. The longest your weaving can be will be the length of your cardboard minus a few inches.
For example: If your cardboard rectangle measures 8 inches across and 12 inches long, you can expect your finished weaving to be approximately 6 inches wide and up to 9 or 10 inches long.
Step 2:
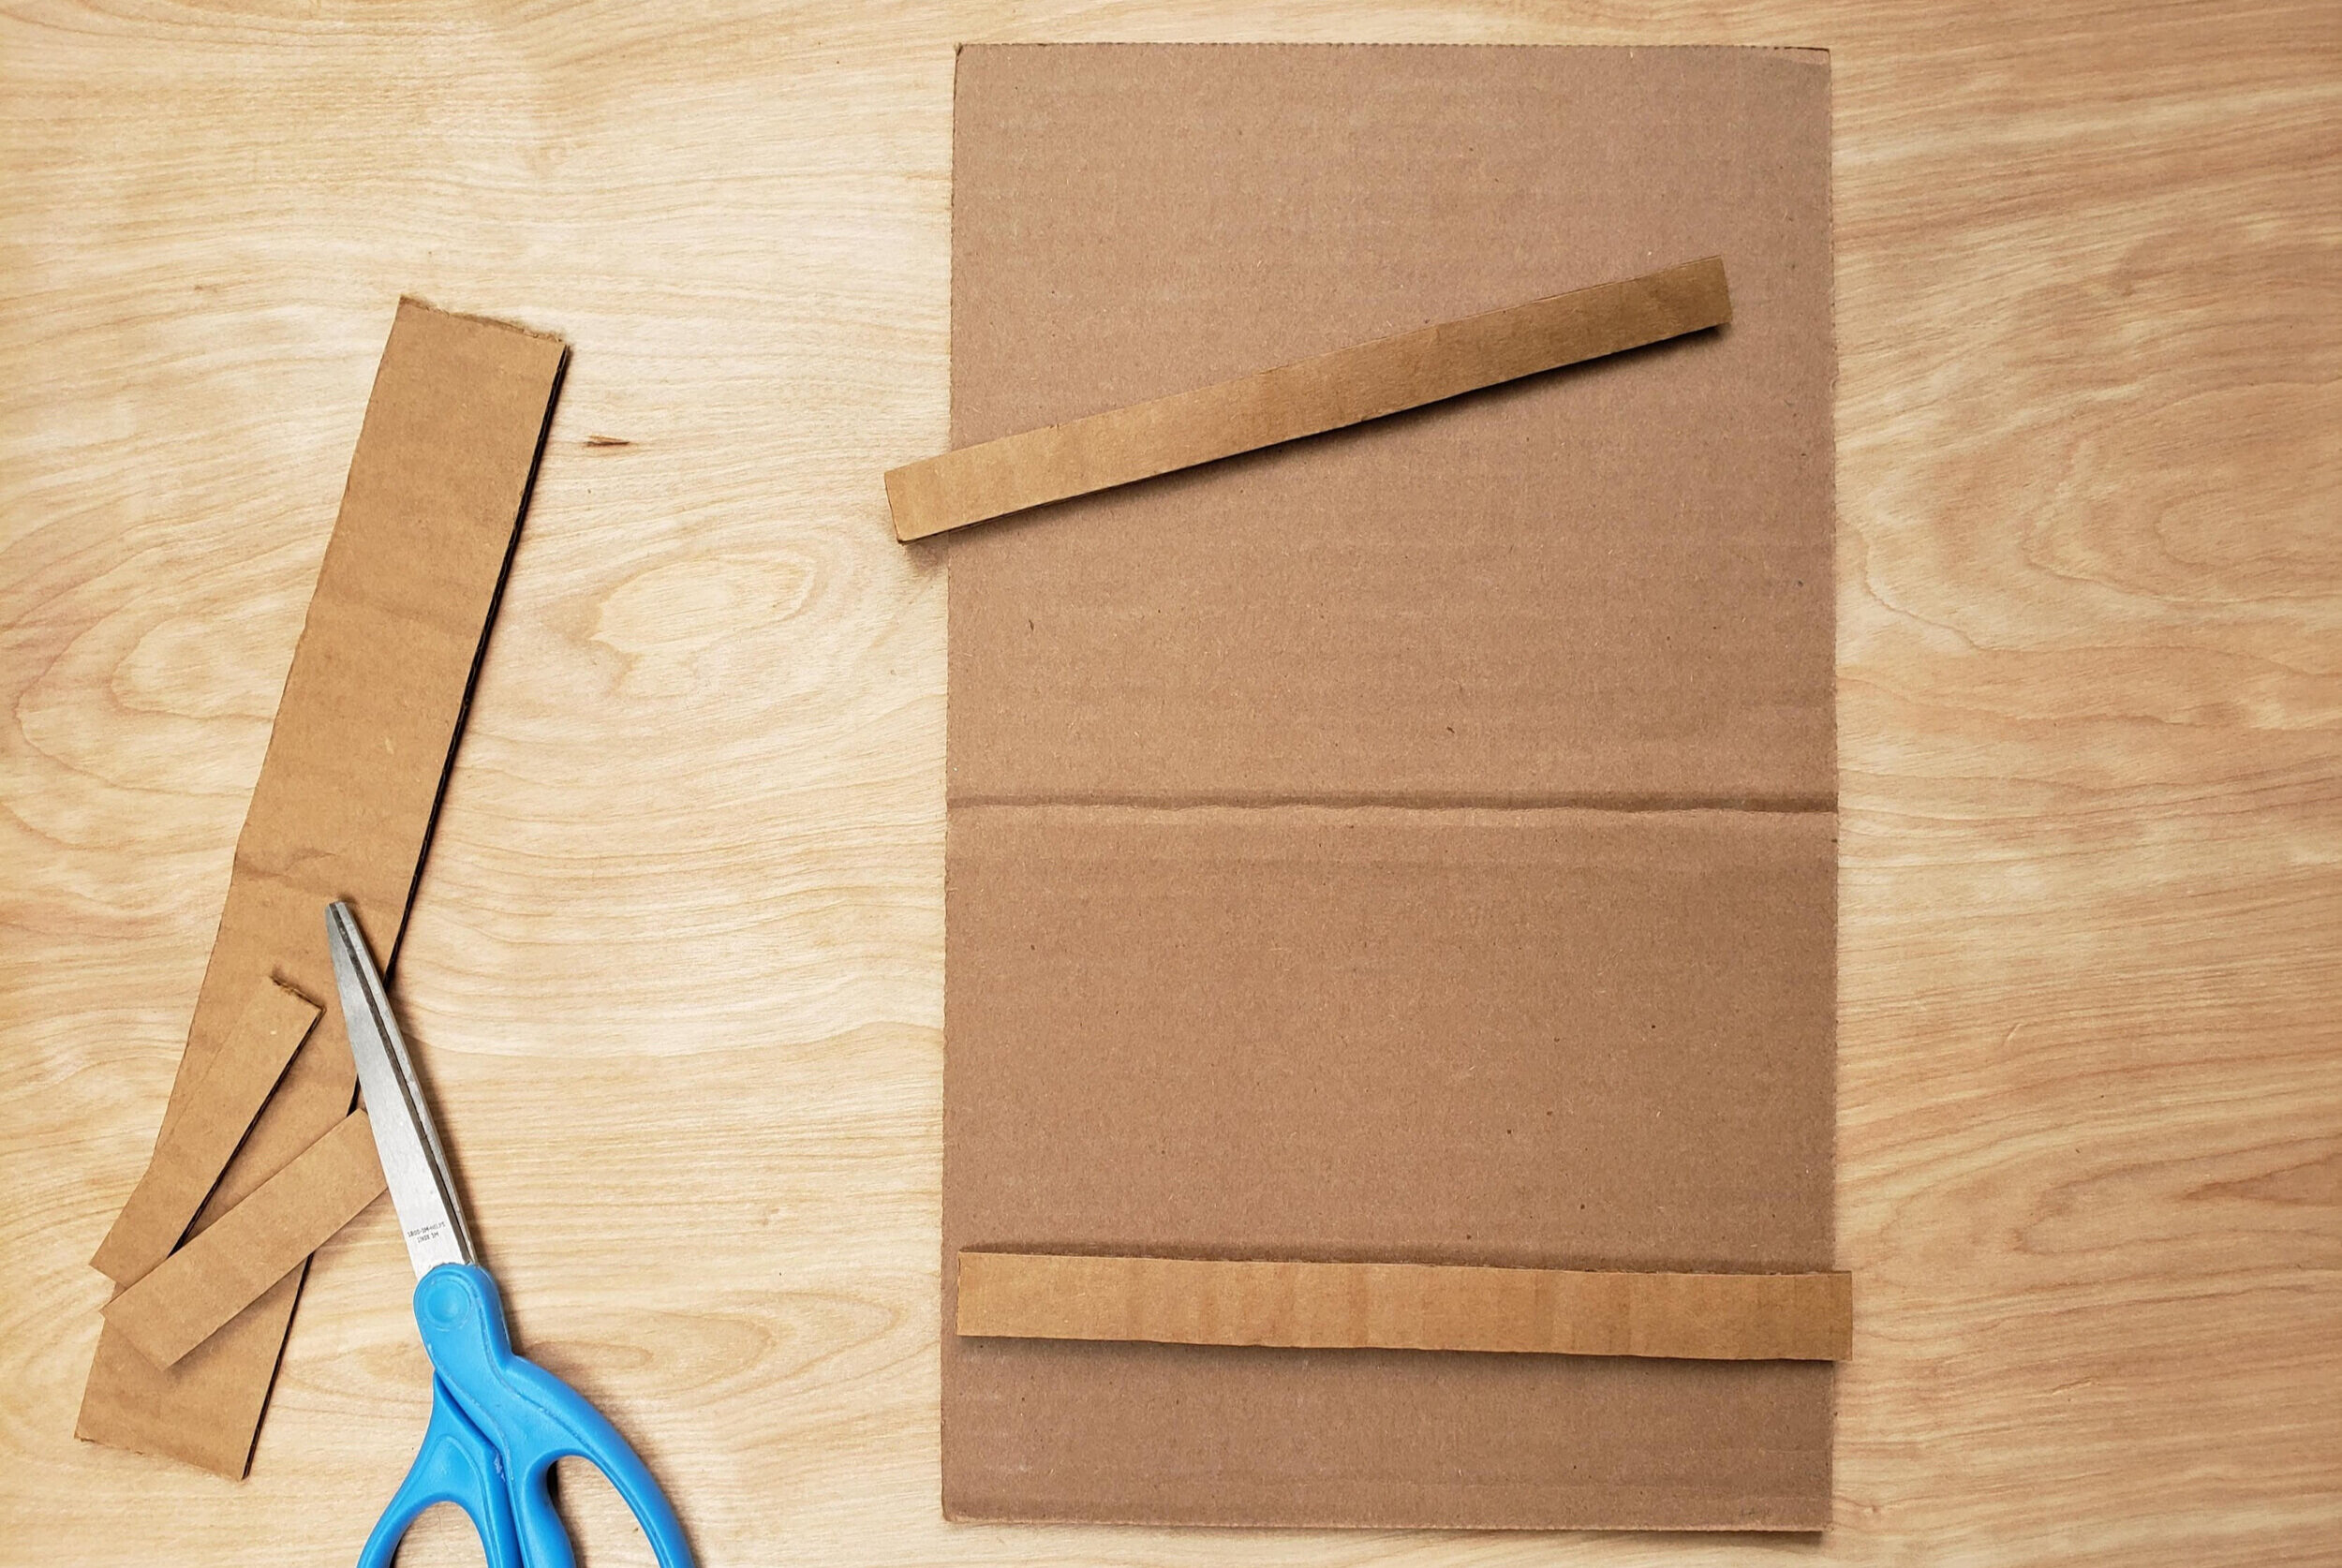
Cut two thin strips of cardboard about 1/2 inch wide and the same length as the width as your large rectangle. Glue these strips to your large rectangle, approximately 1/2 inch from each end, as shown. Let them dry for before moving on the the next step.


Step 3:
Cut small slits into one end of the cardboard, 1/2 inch apart. You want them to be evenly spaced so that your weaving turns out nice and even. I find it easiest to measure and draw lines first, and then cut. For ease of removing and tying off your work at the end, make an even number of cuts.
Repeat on the other end, making sure that your cuts line up evenly with the first side.

Step 4: Warping Your Loom
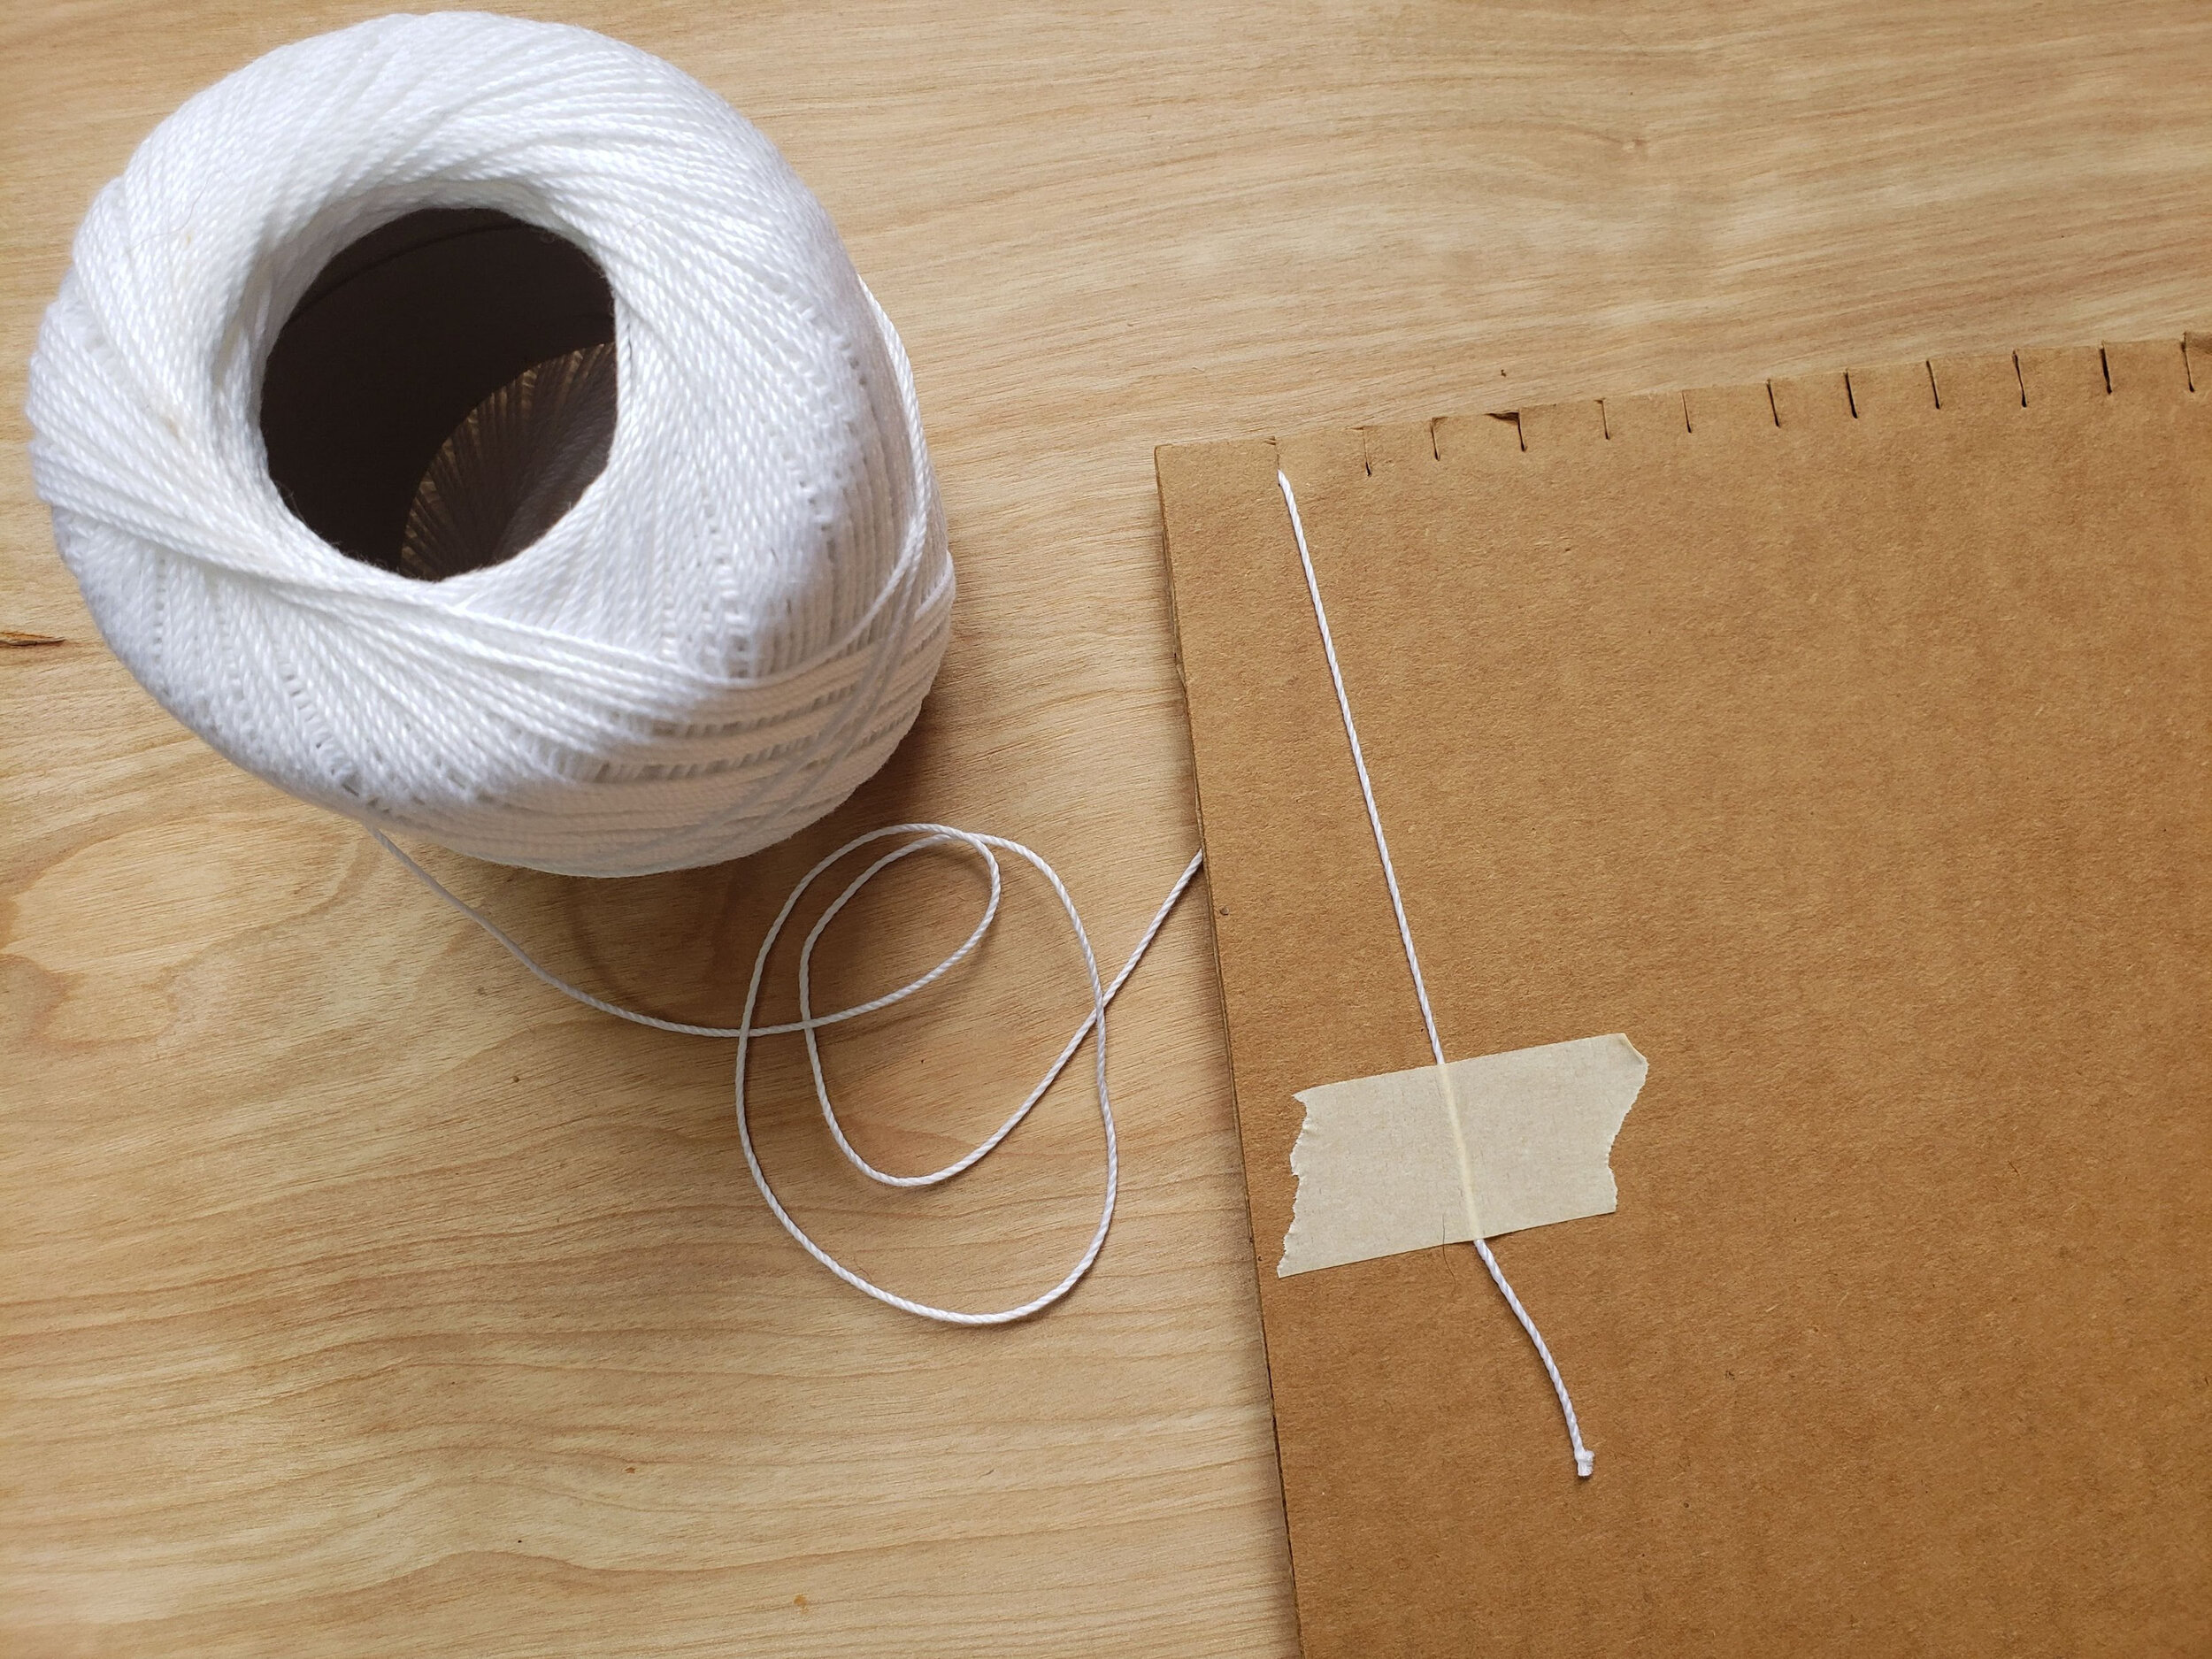
Your loom is done! Now you need to add the string that you will weave your materials through. In weaving lingo, this is called the warp string and the process is called warping your loom. To warp your new cardboard loom, it’s best to use string or yarn that is not stretchy. As you weave you will be pulling on the warp string and this can cause them to loosen, which can affect your weaving. Wool yarn usually has a little “bounce” to it so I recommend using cotton. The picture shows crochet cotton, which is usually one a couple dollars at any big box craft store. If you only have wool and want to use that, be sure to pull is as snug as you can when you warp the loom.
To start, tape the end of your string to the back of the loom. Bring the string up and slide it into the first slit at the top. Turn the loom so the front is facing, bring the string down and slide it into the matching slit at the bottom. Wrapping the string around the back again, repeat the process until the string is through all the slits.

As you warp your loom, tug on the string periodically to be sure it’s staying snug. When you’re done, the string on the front should make straight, vertical lines. Cut your string, leaving a small tail, and tape it to the back.
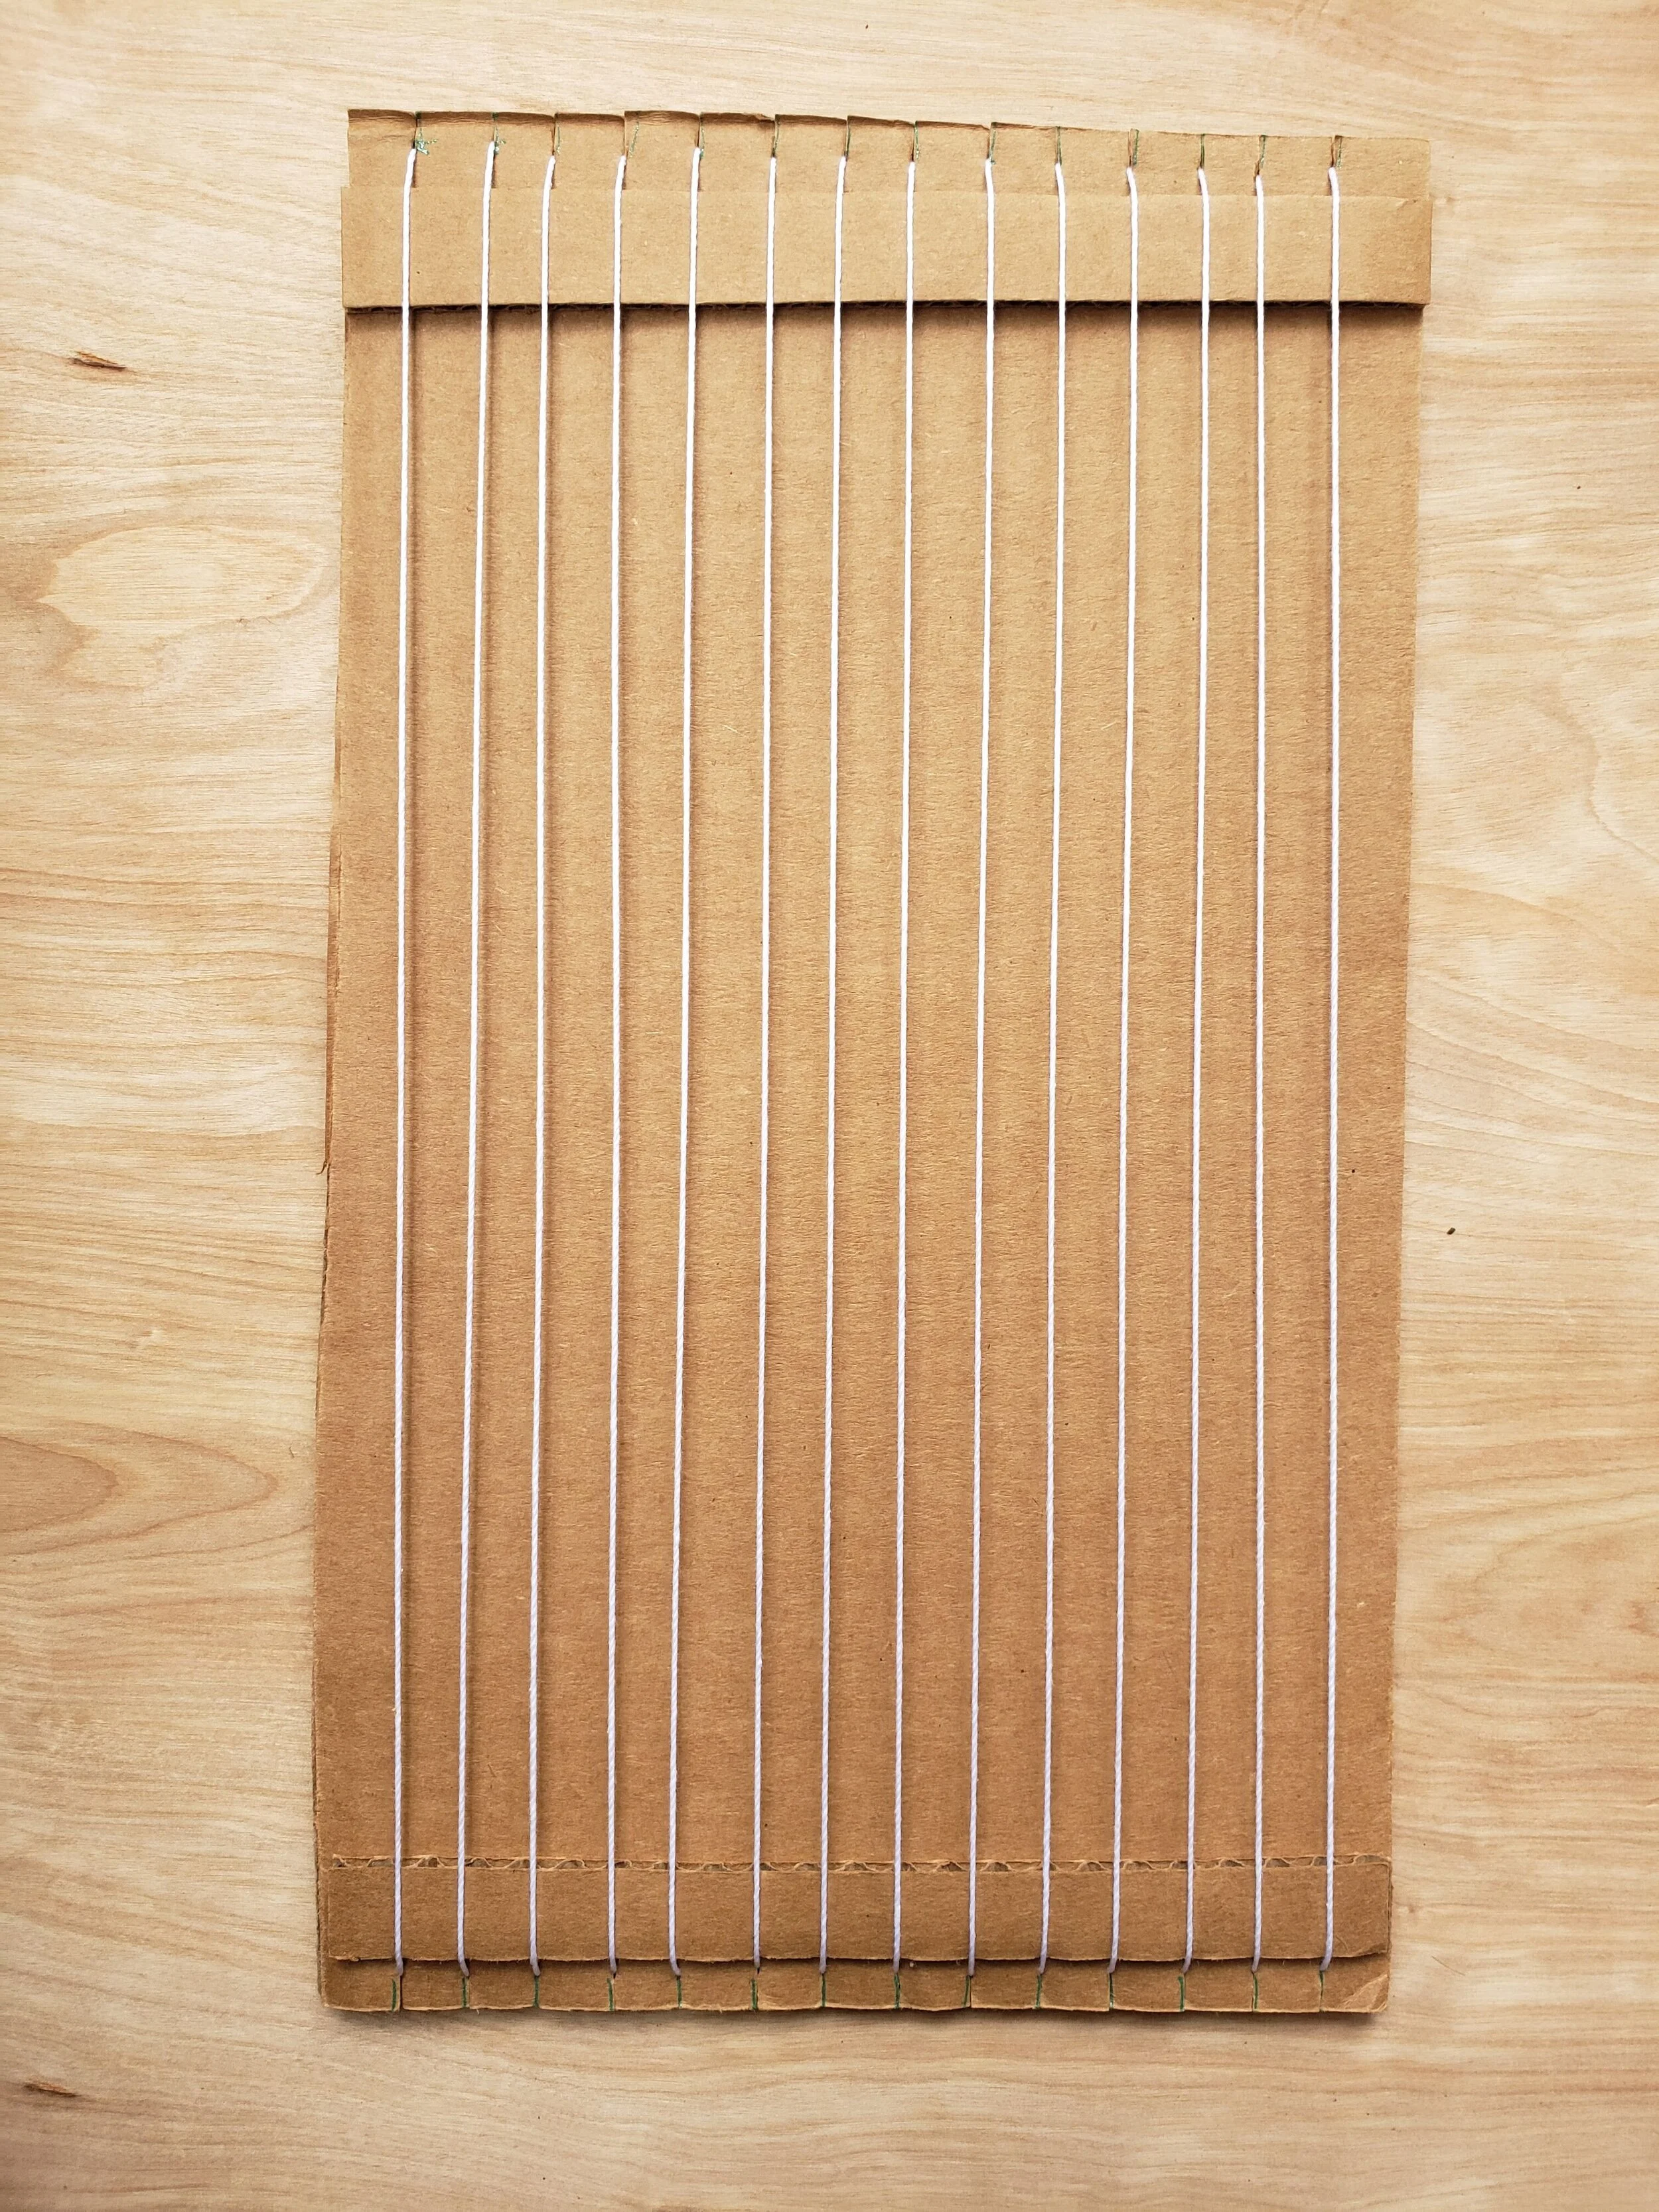


The skinny cardboard strips that are glued to the loom create a gap between the warp string and the base of the loom. This makes it easier to maneuver your weaving materials over and under the warp strings.
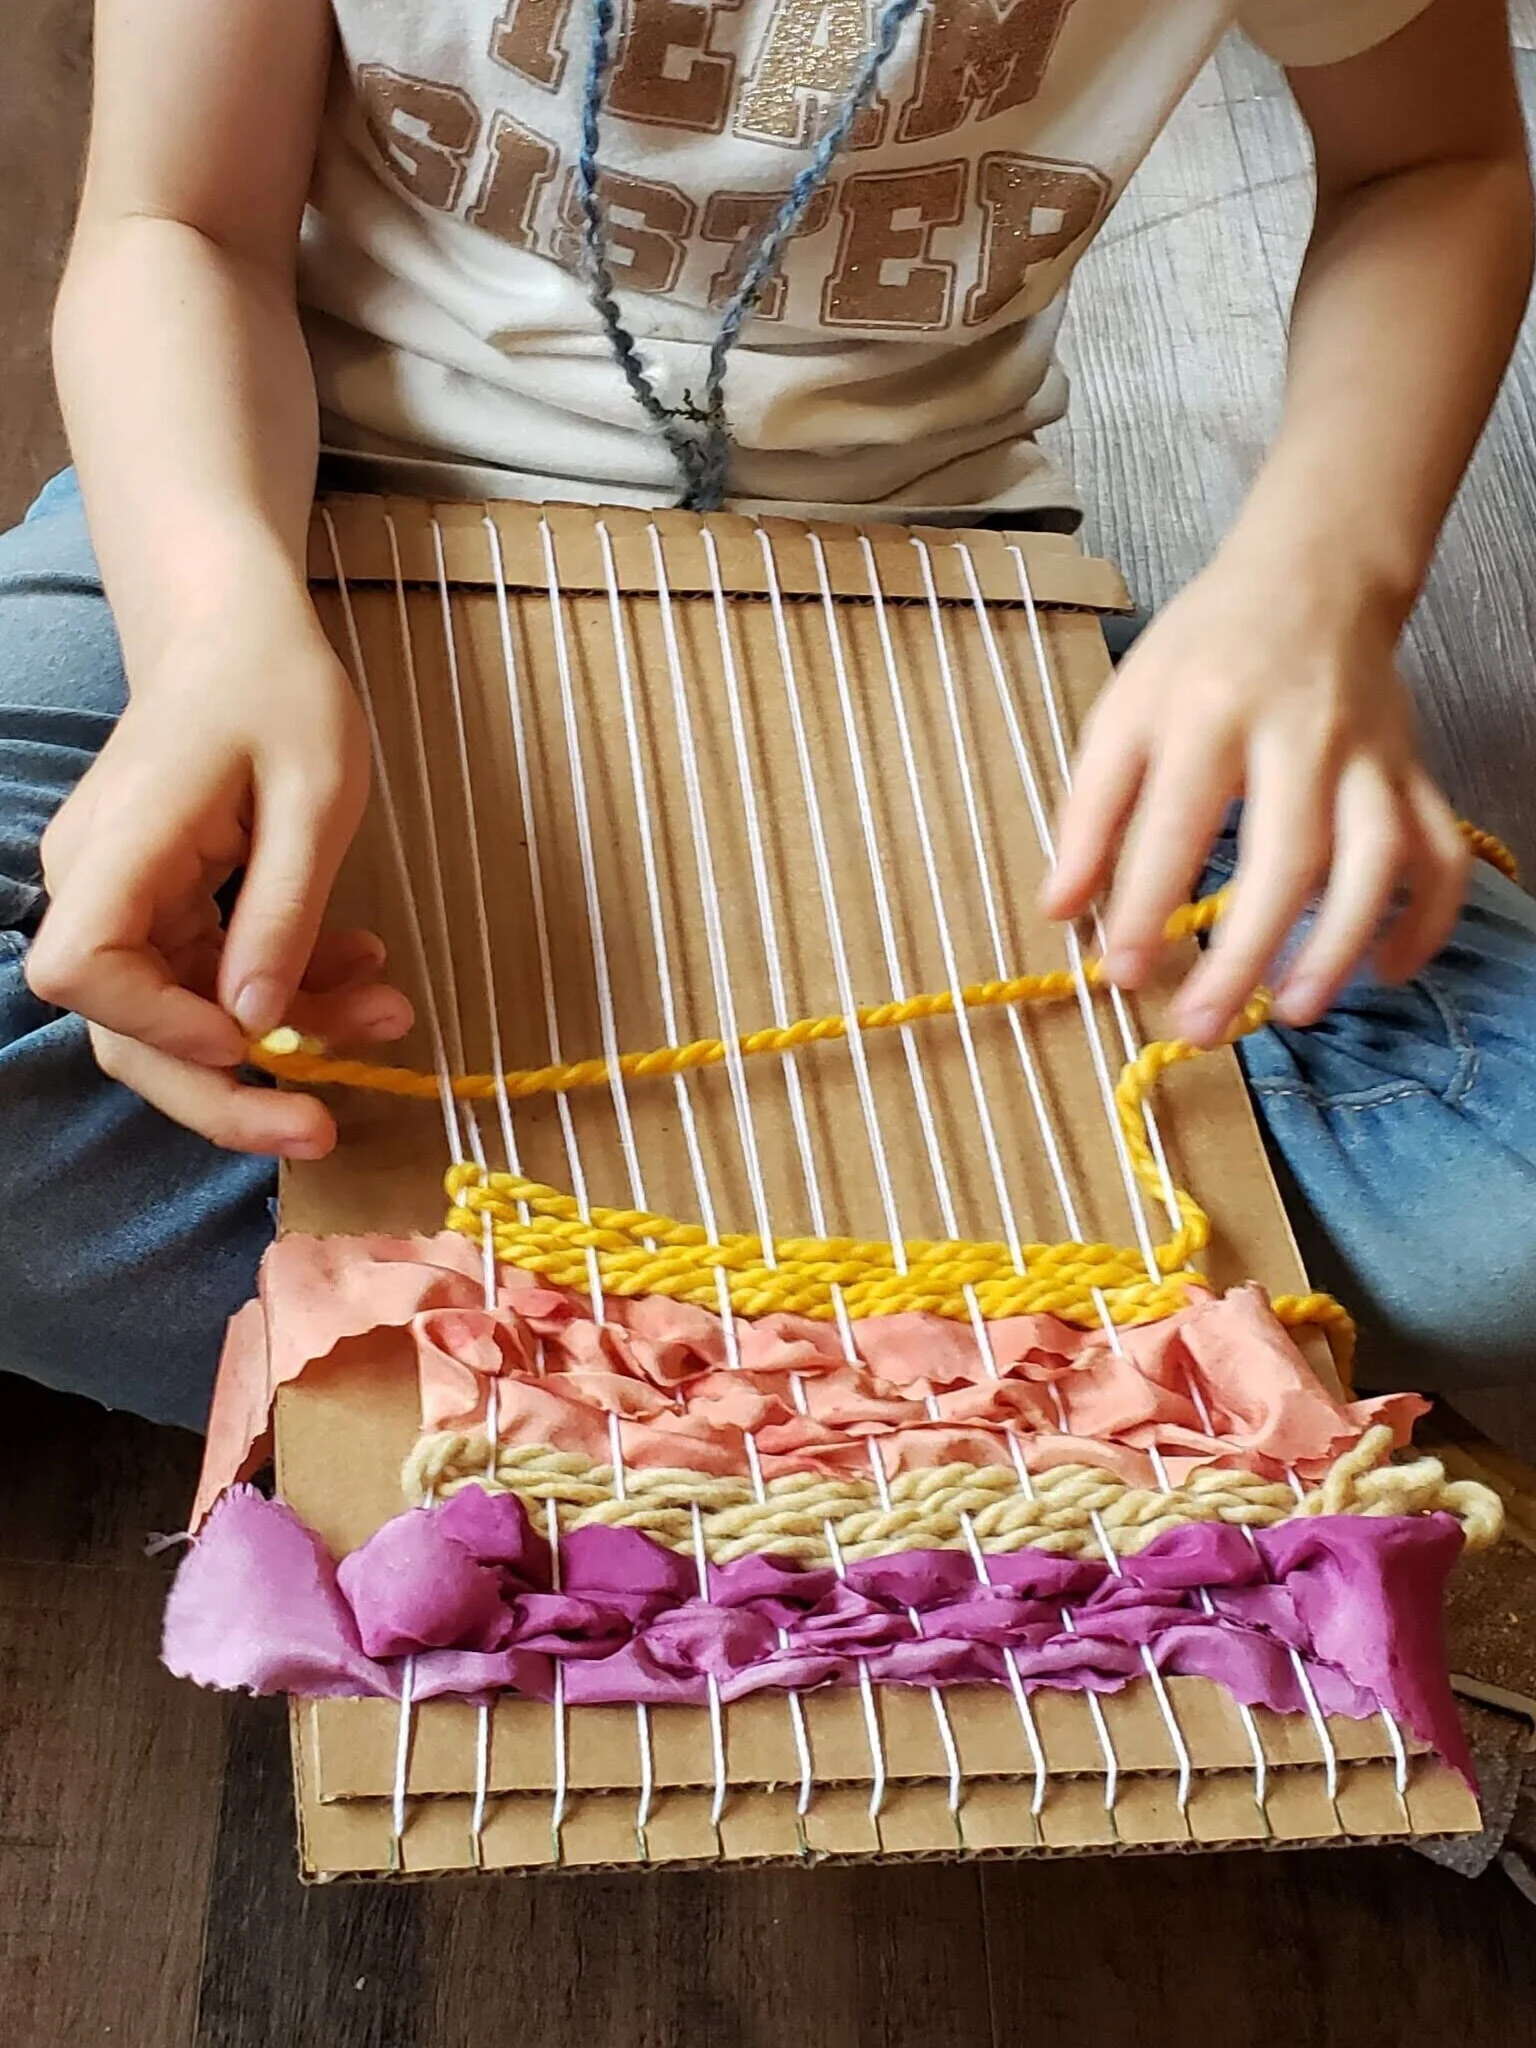
Step 5: Weaving
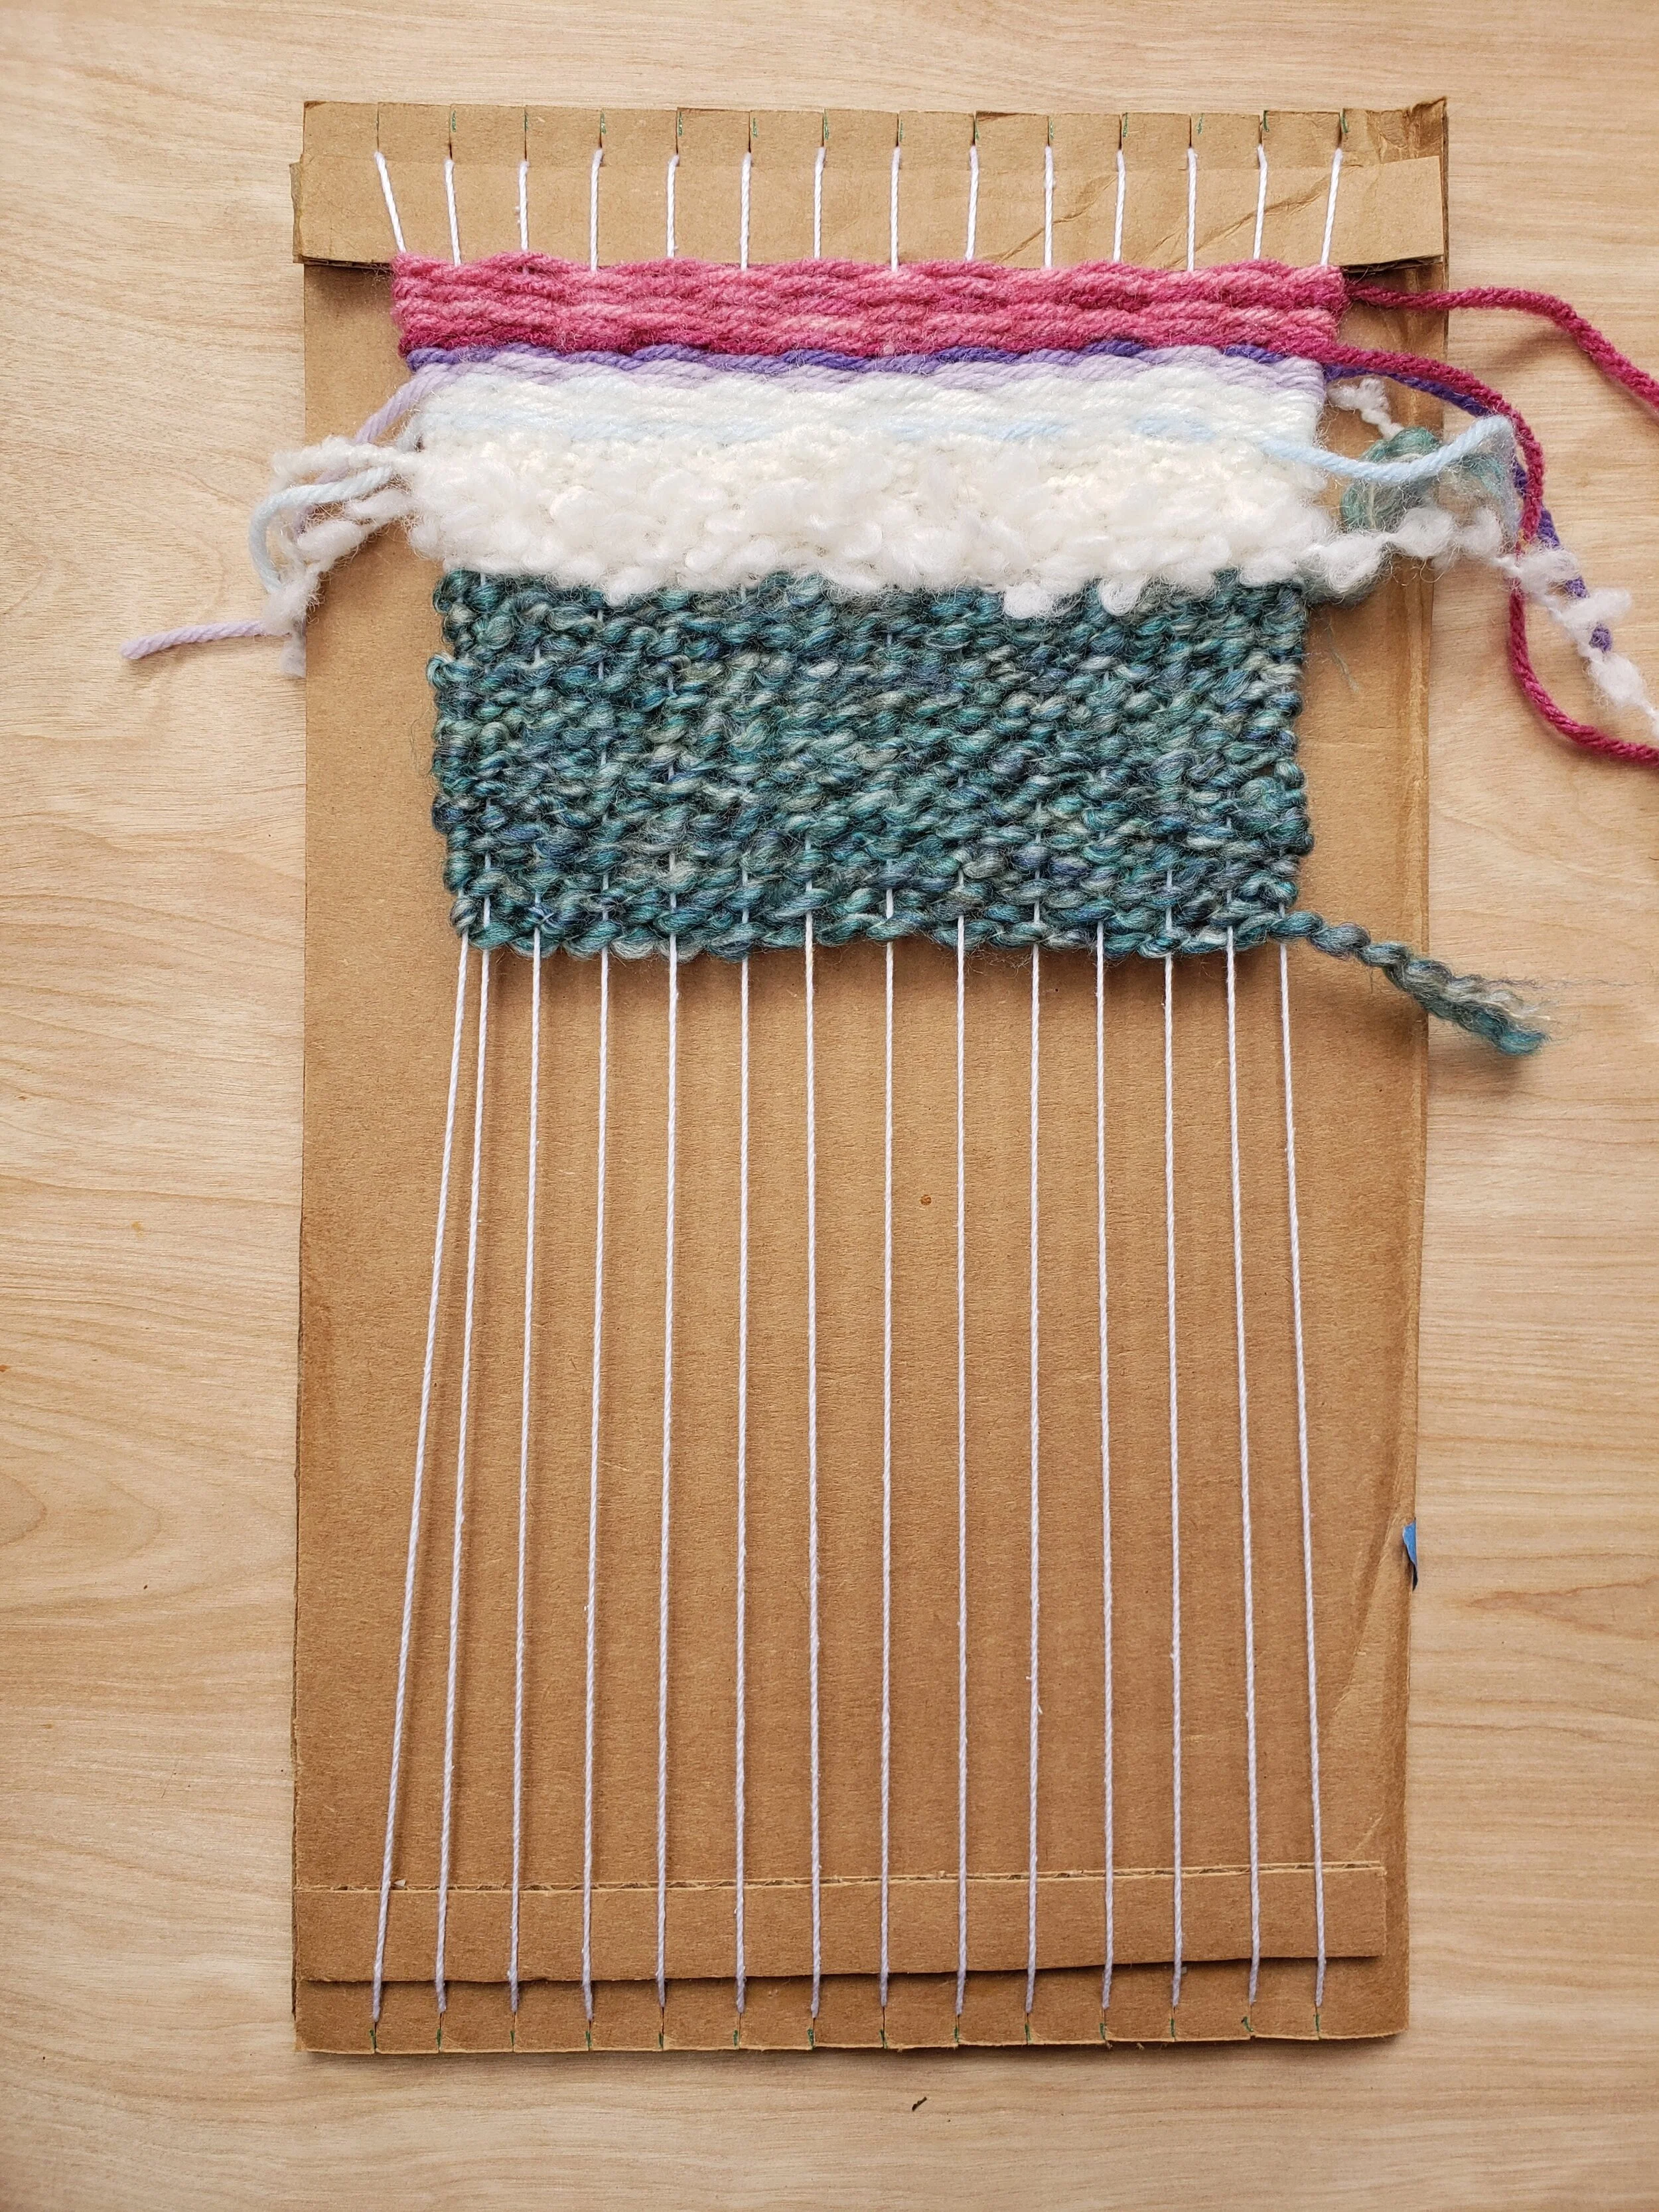
Start weaving! The materials you add now are called the weft and they go in the opposite direction as the warp. Start with the simple pattern of over, under, over, under each warp string. As you weave, the warp strings on the edges will naturally pull in a bit. To keep this narrowing from being too dramatic, pay extra attention to the tension of your weft materials as you turn the edges and go back the other way. Resist the urge to pull your material tightly over the last warp strings.
When you begin and end a new piece of yarn, or fabric strip, leave a few inches hanging off the side. When you’re done, they can be hidden on the back.
Weave as long as you’d like. Keep going until you reach the bottom of the loom, or stop sooner if you’d like a shorter piece!

Step 6: Removing Your Work From the Loom
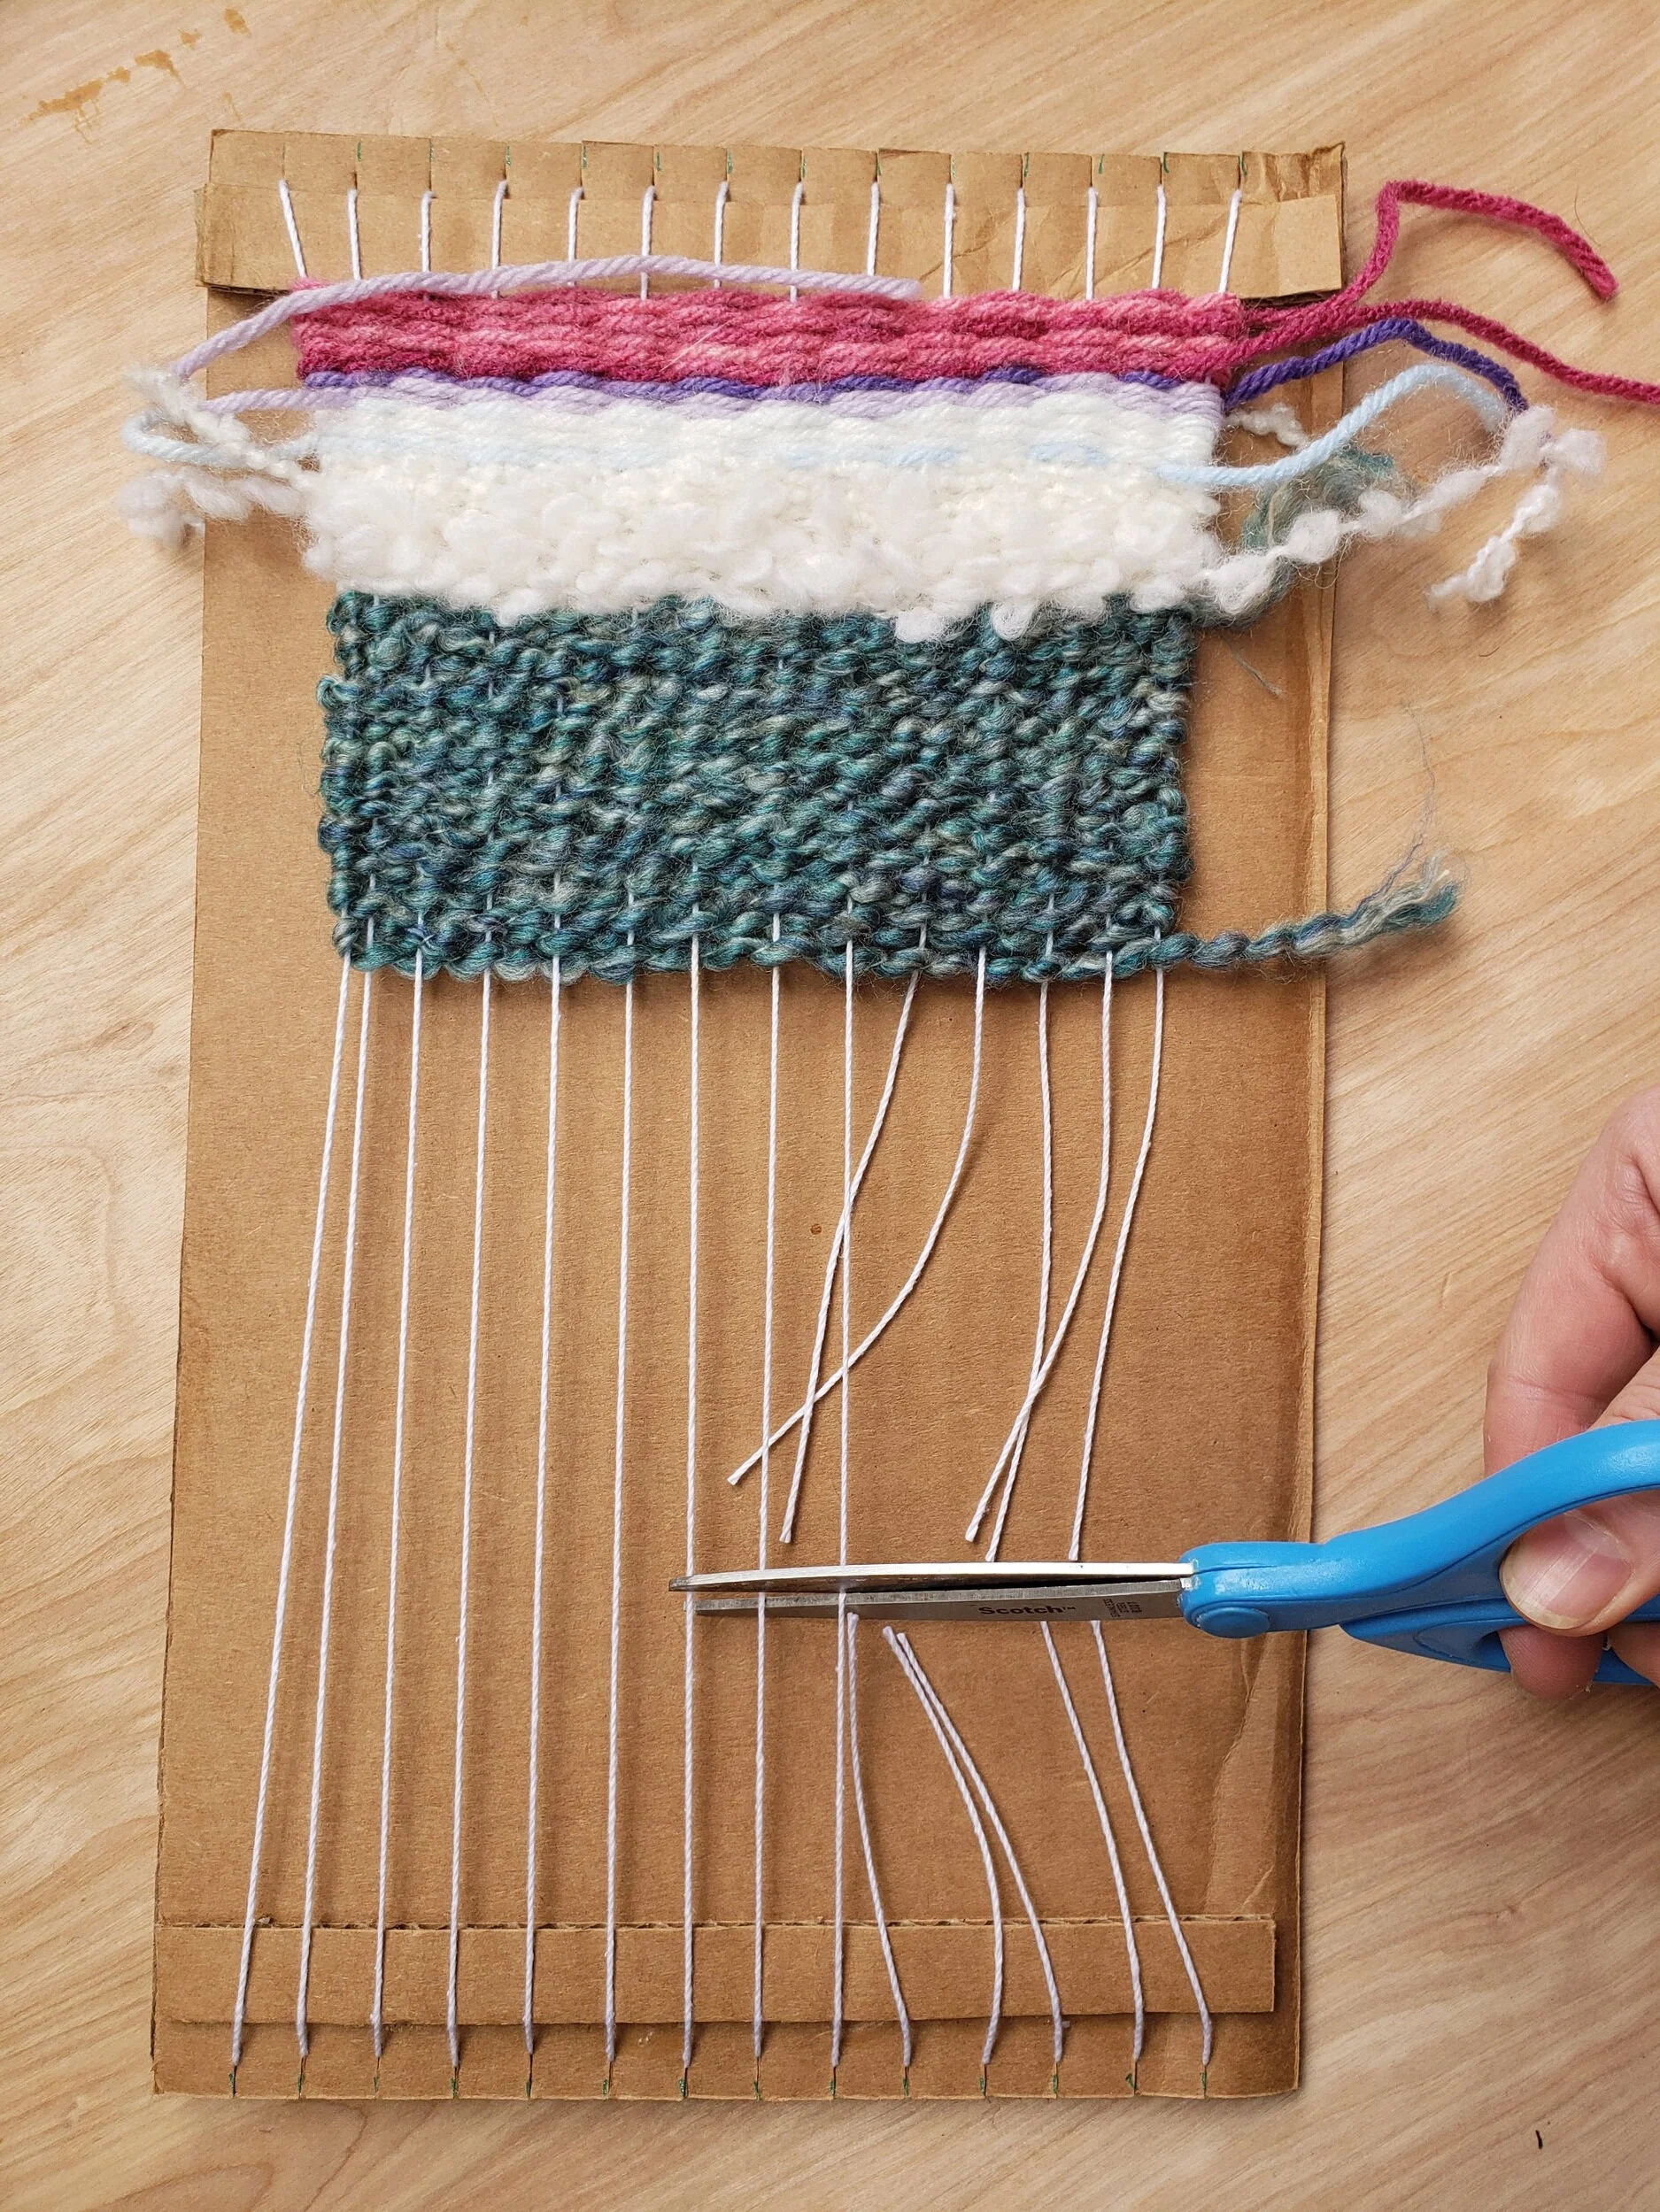
Cut the warp threads several inches from the bottom of your finished weaving. (If your weaving reaches the bottom of your loom you will need to cut the strings on the back of the loom in order to get a few inches of warp threads below your final row of weaving.)
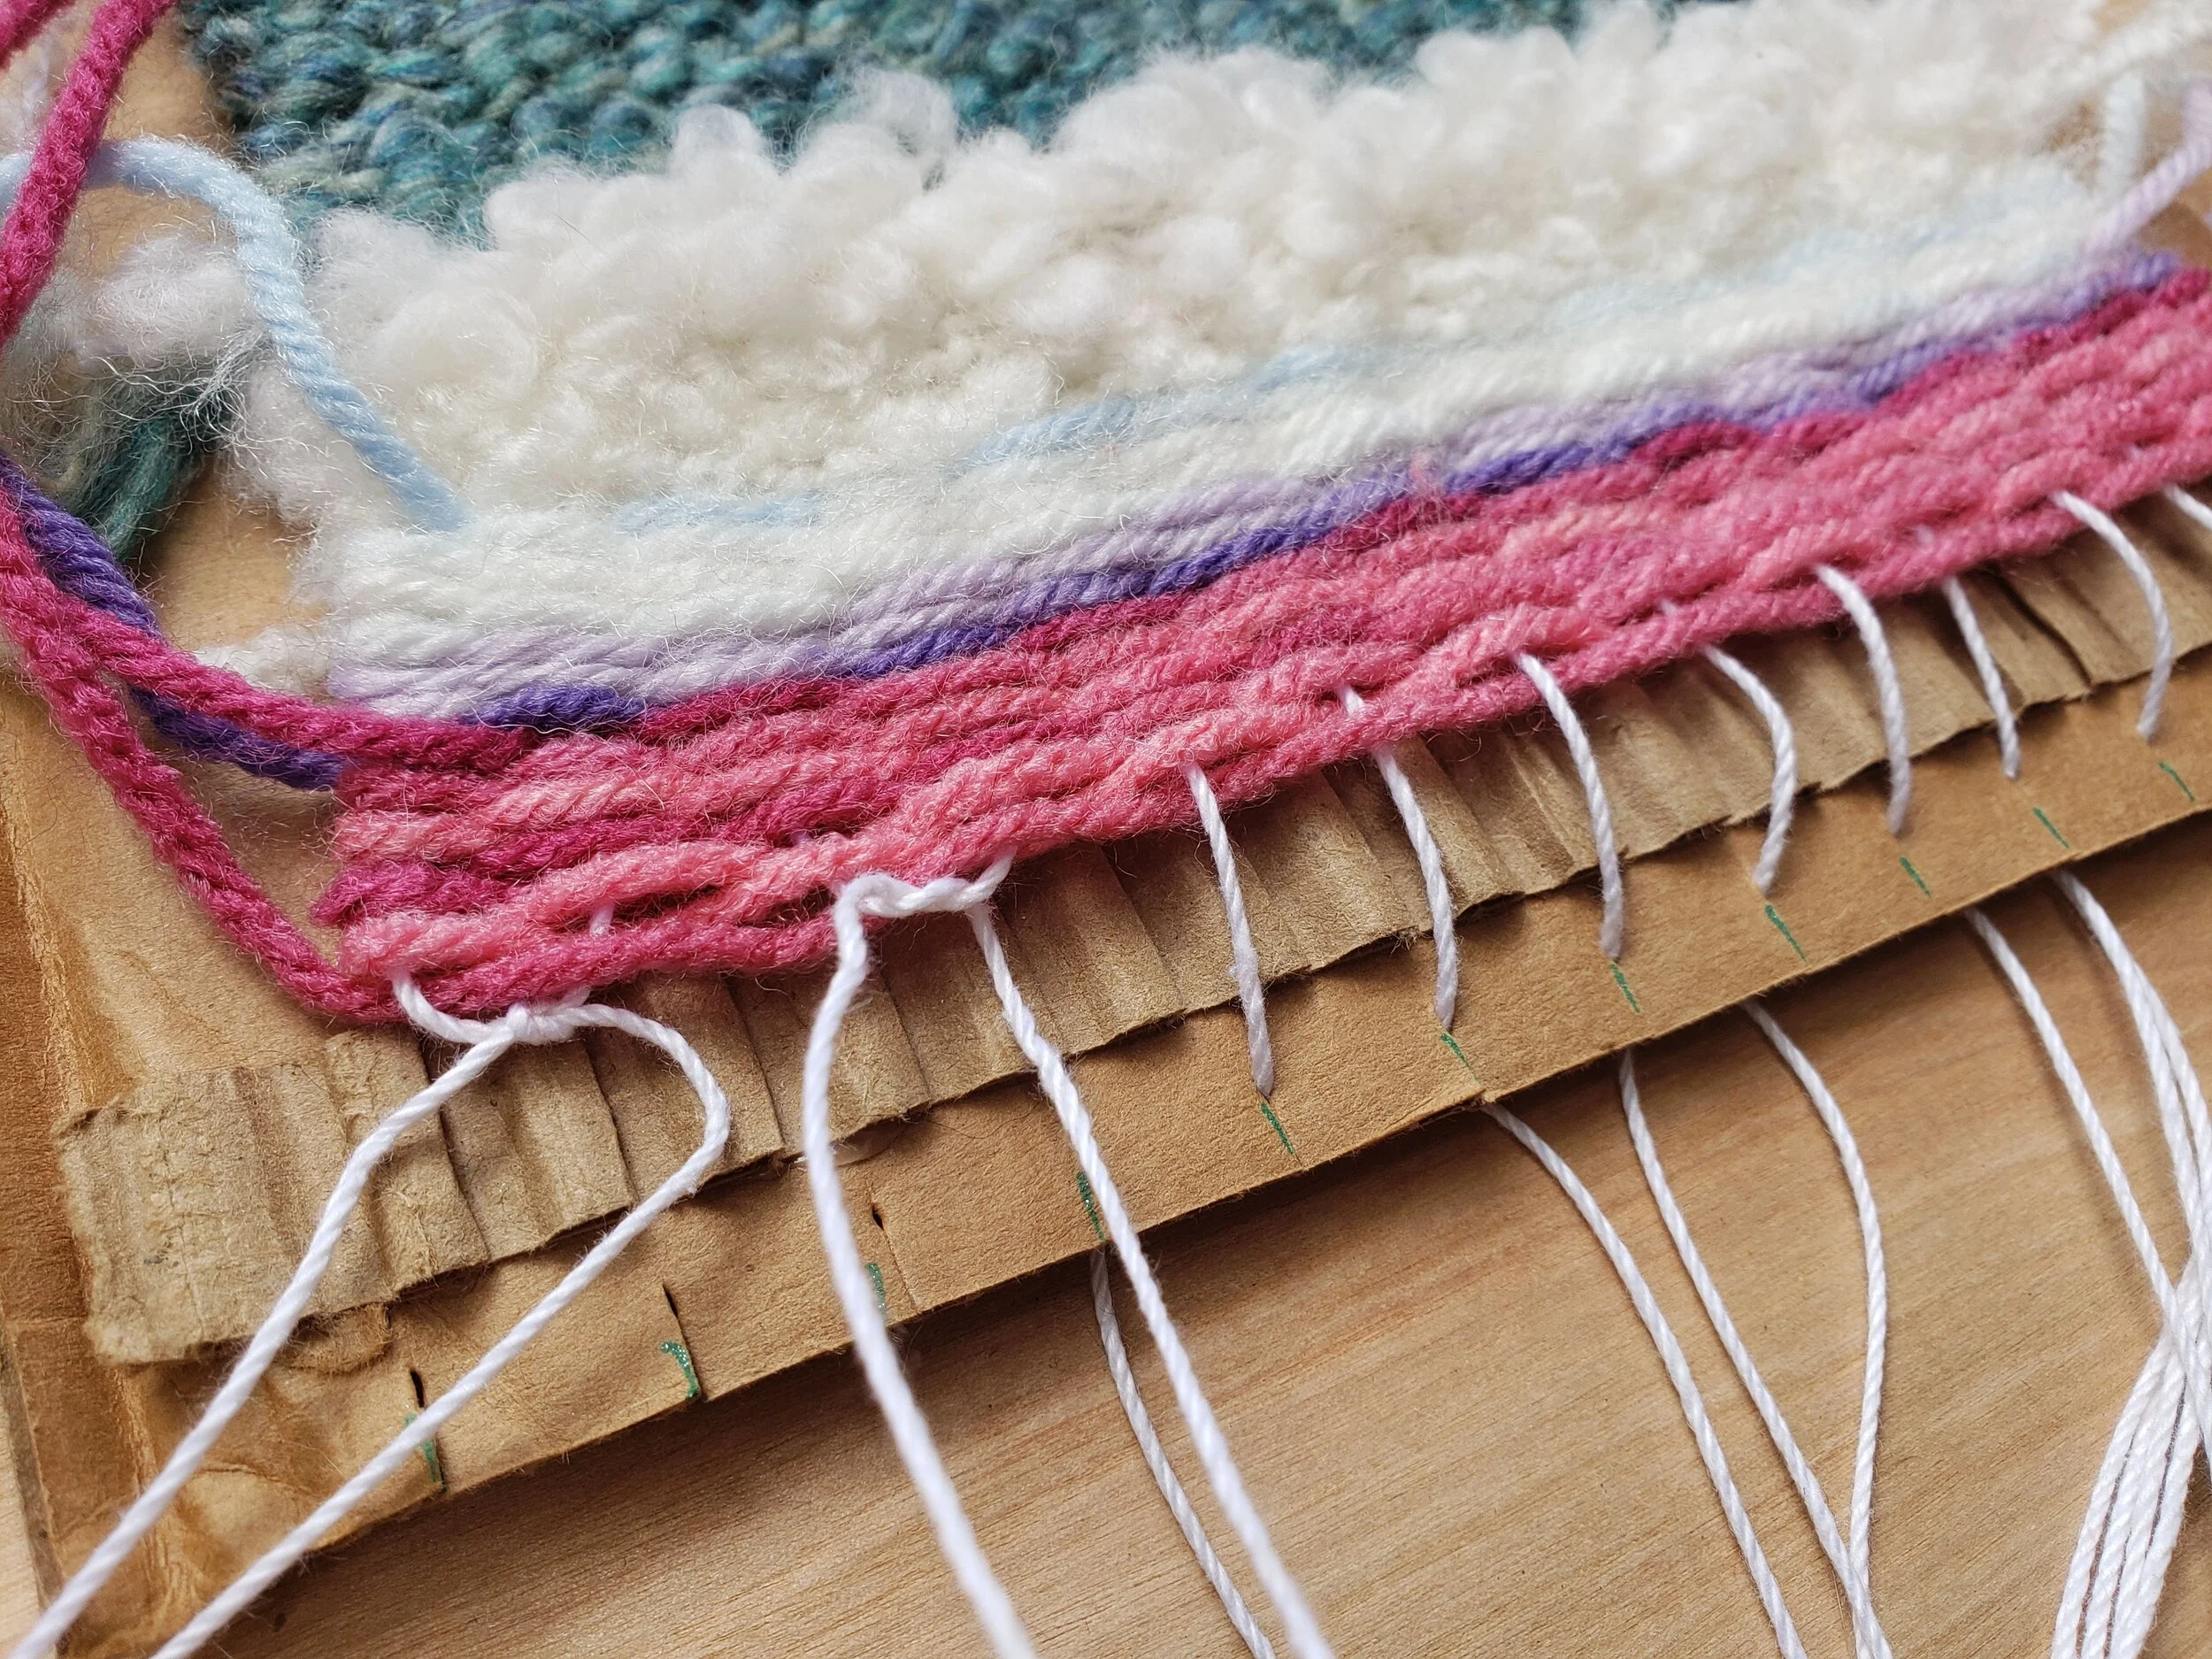
In pairs, tie the ends of your warp threads in knots. The ends can be left as fringe, or tucked up into the back of the weaving later.

Step 7:
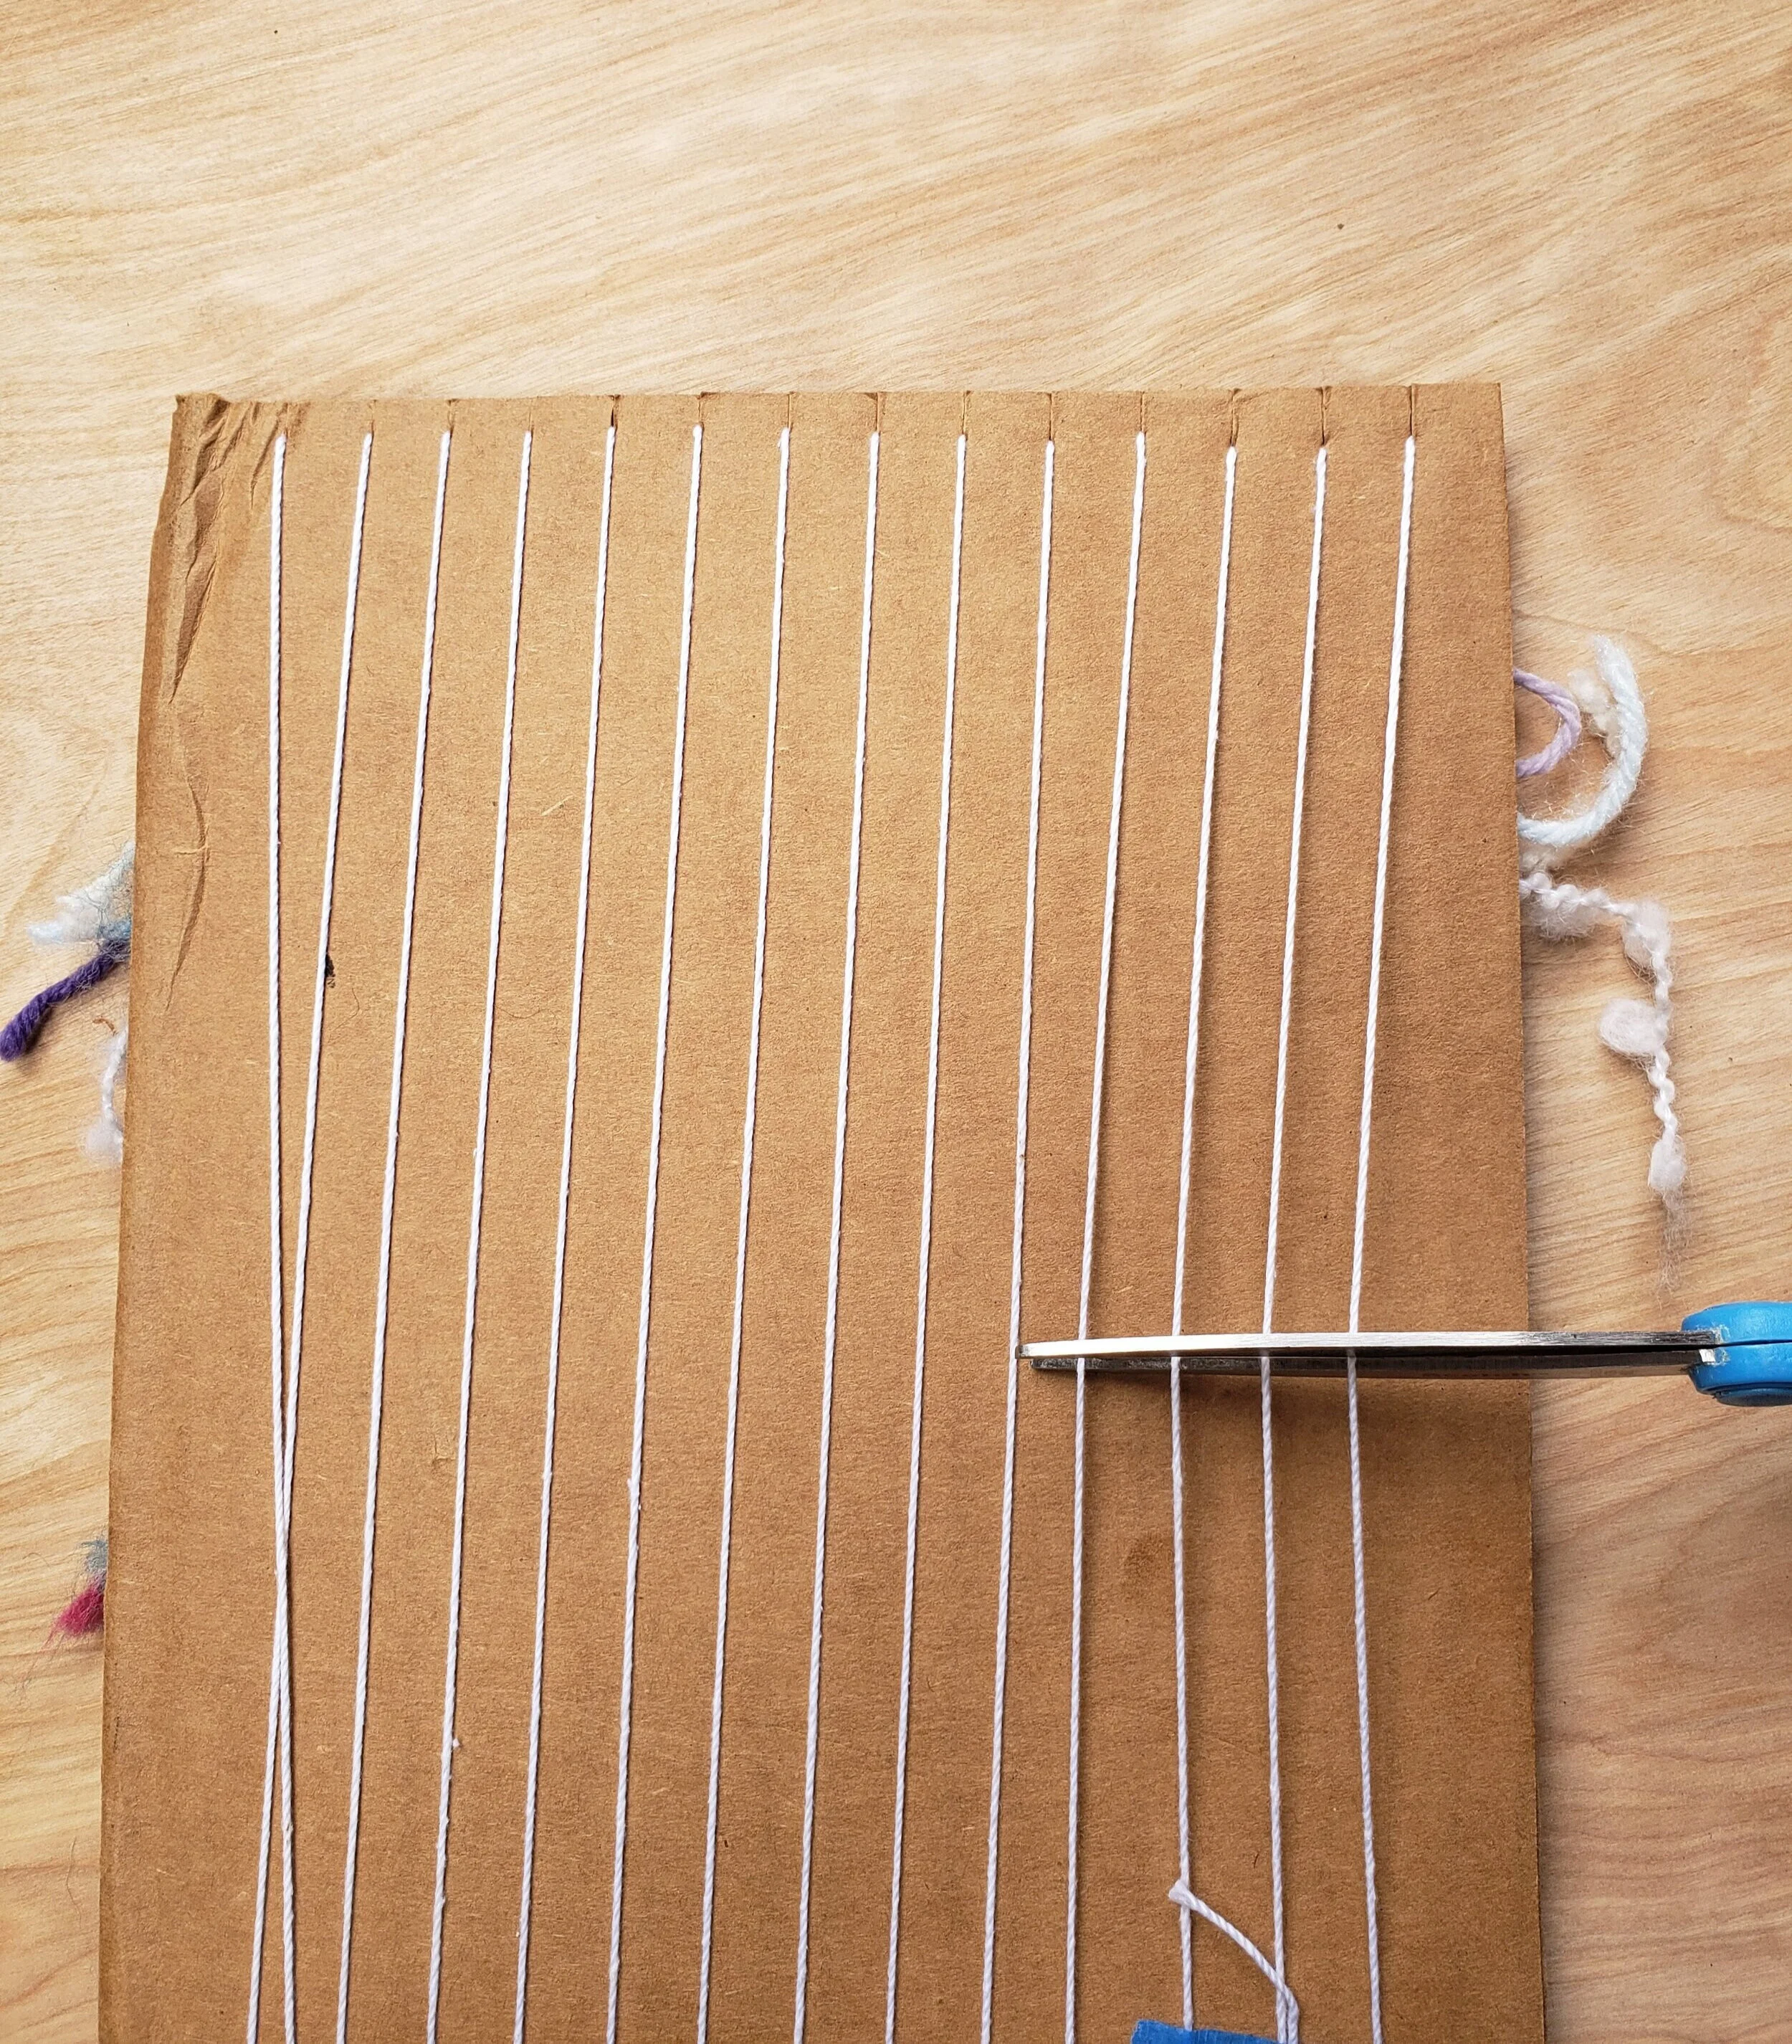
Turn your loom over and cut the warp threads about halfway down the back.
Turning your loom so that your weaving is facing you, remove 2 warp strings at t time from the slits and tie knots just as you did at the bottom.
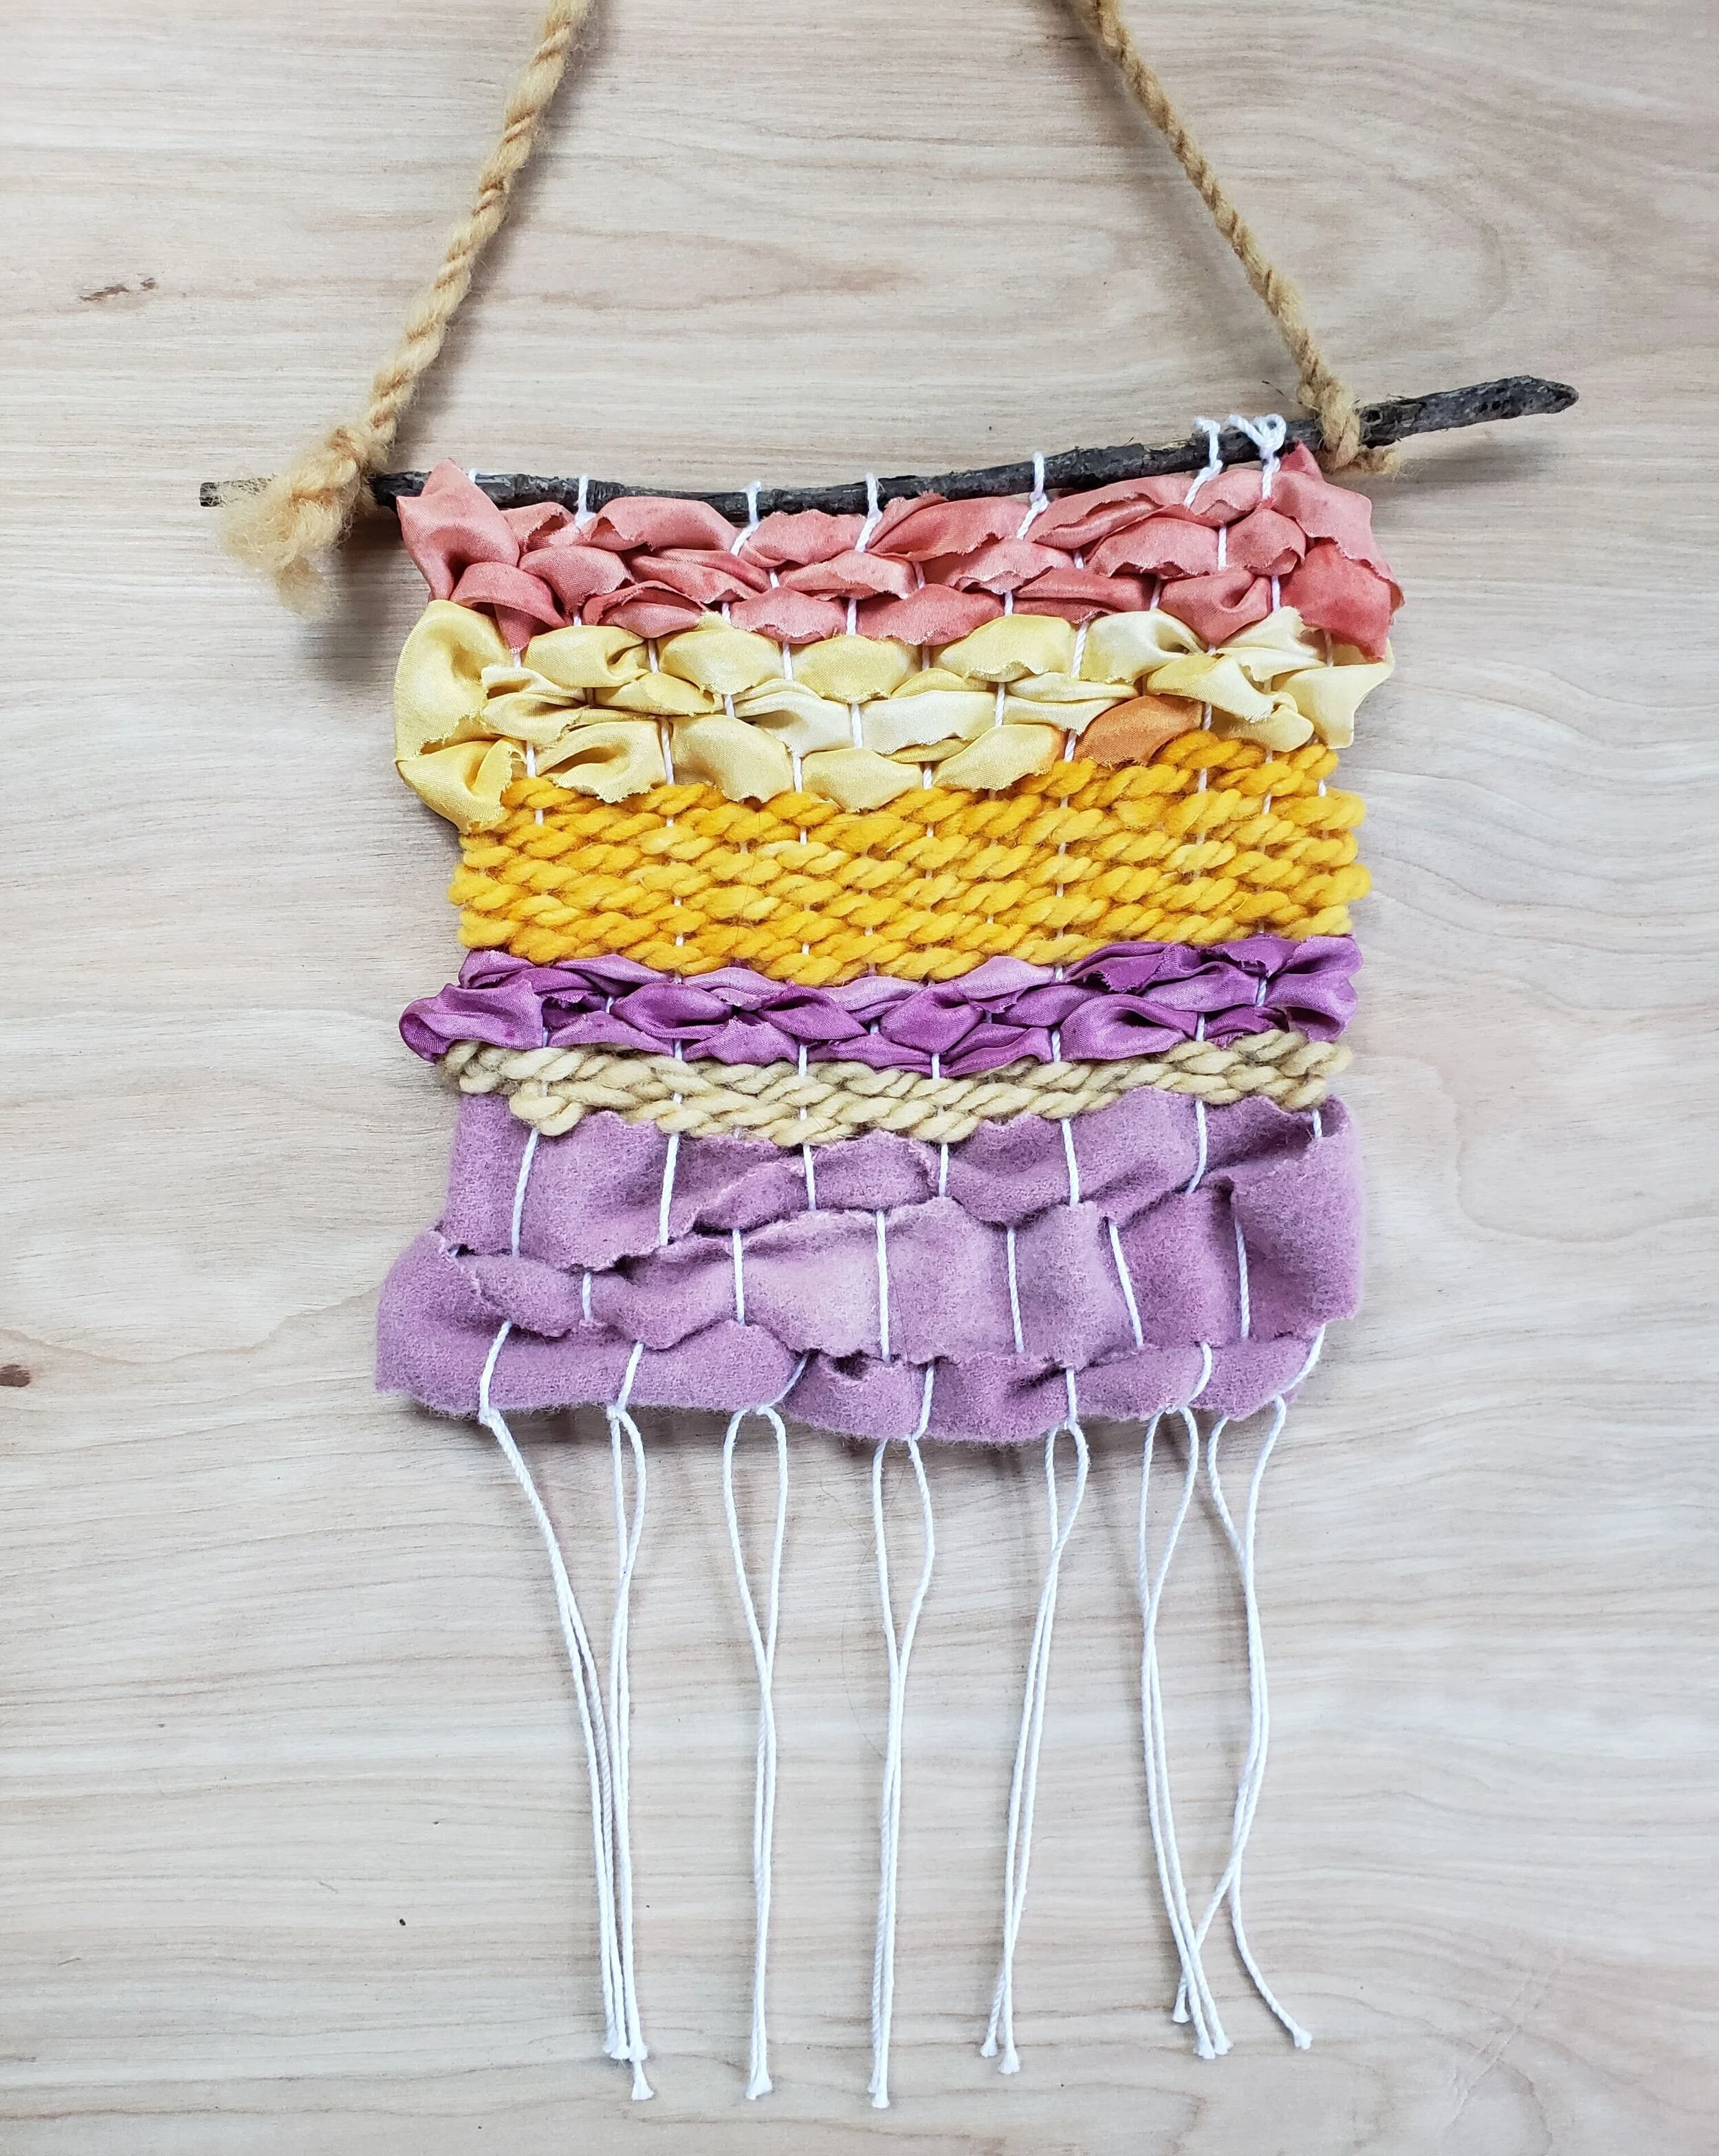
Step 8: Add a Branch Hanger
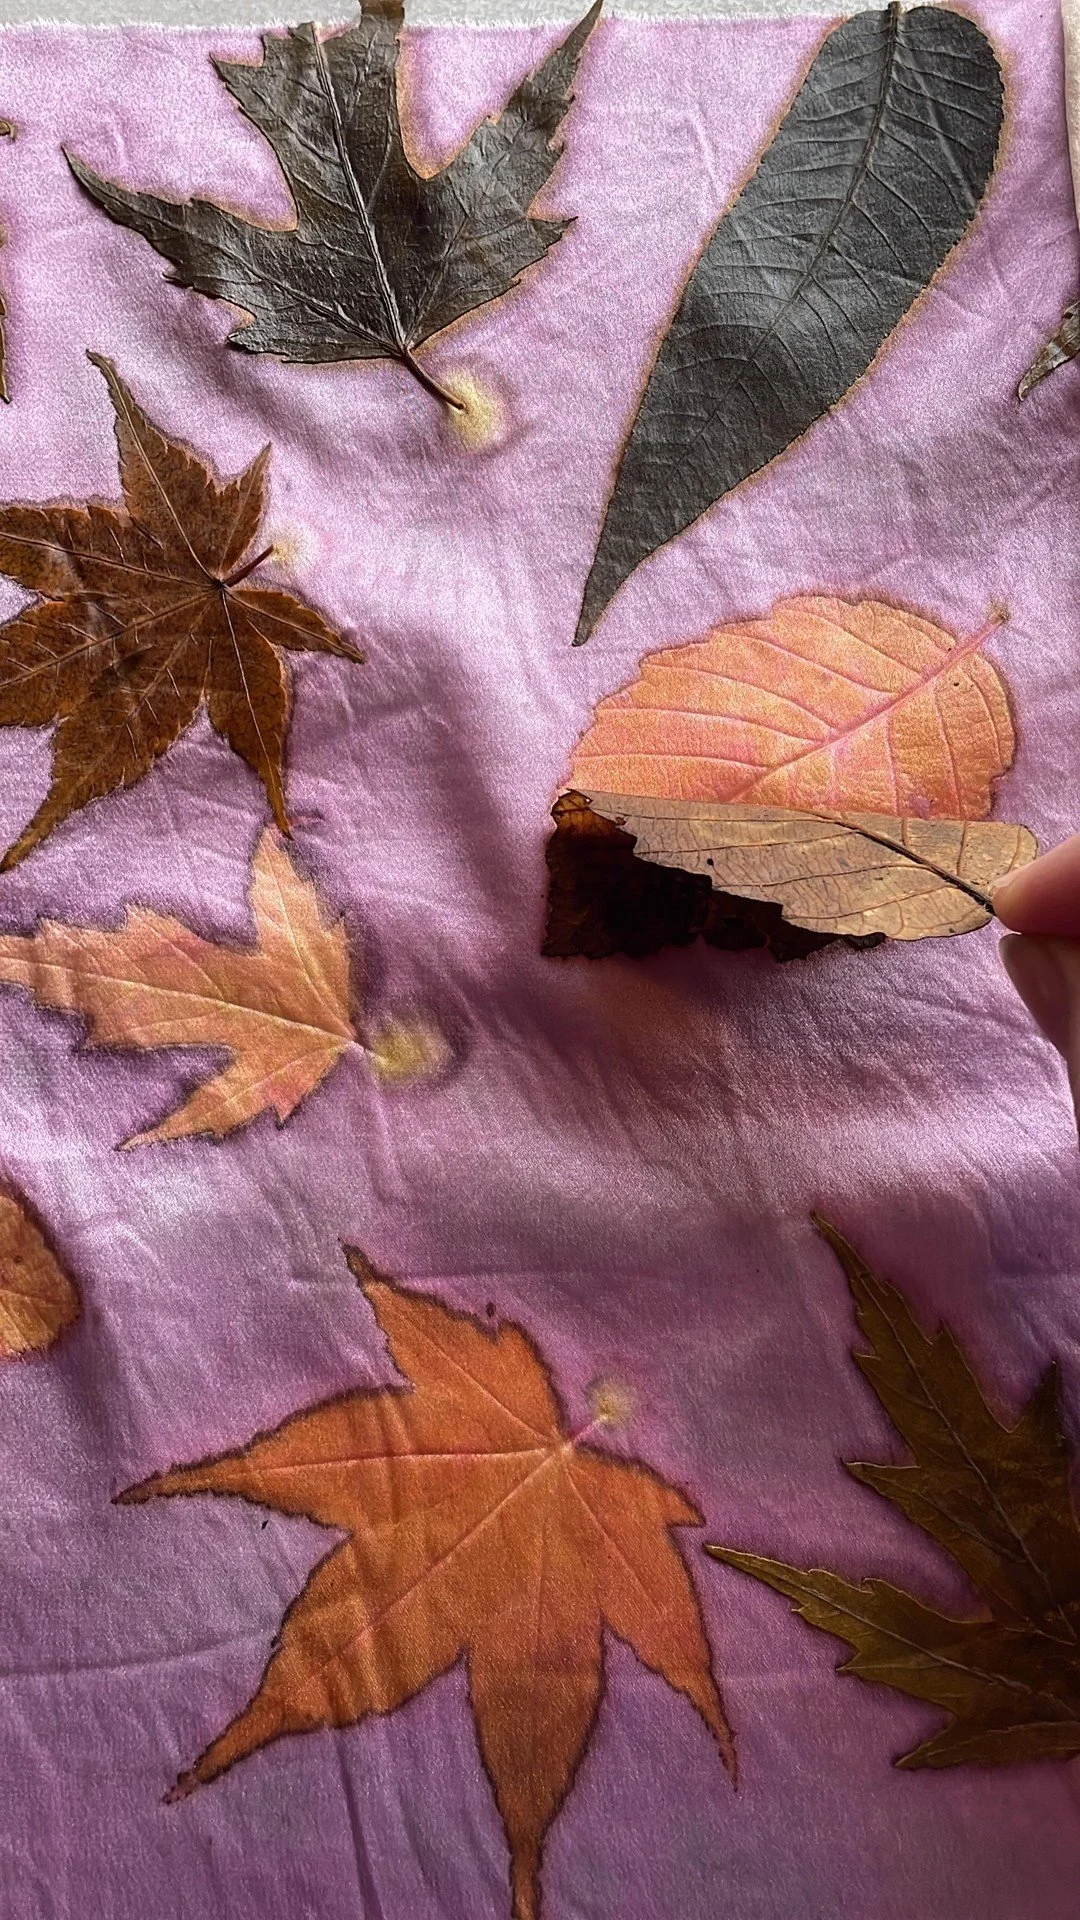
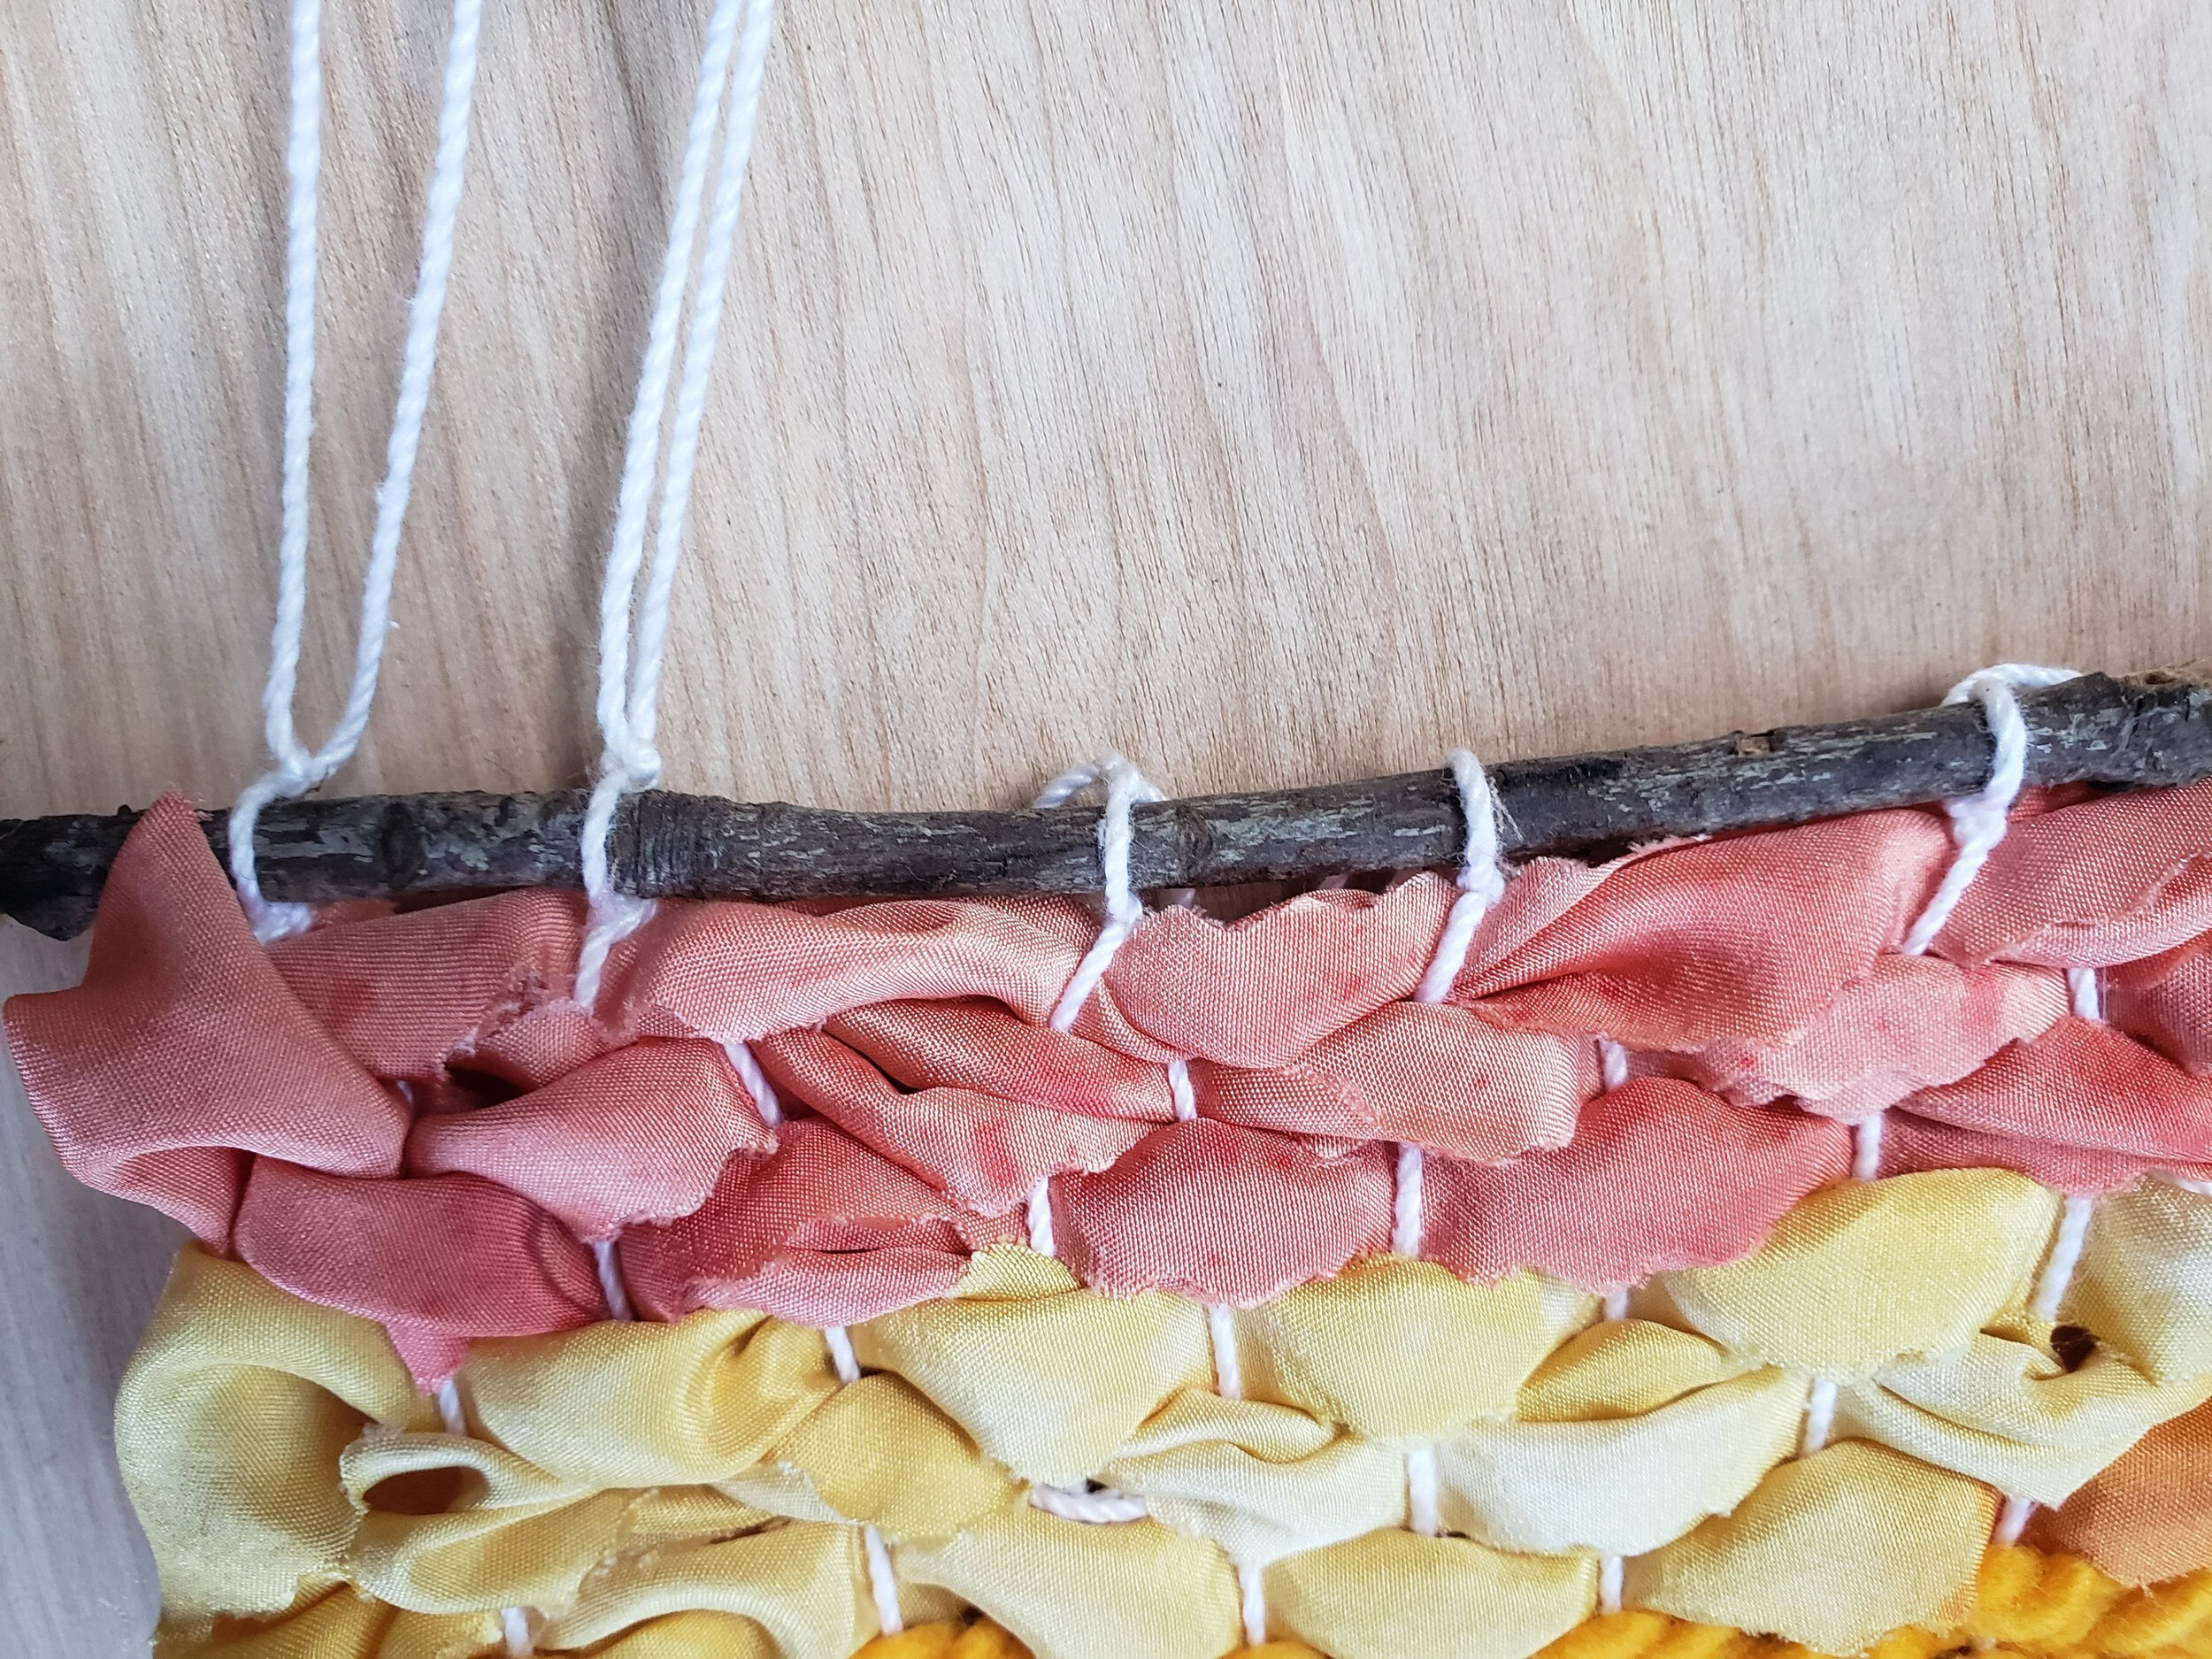
(These next photos show a different weaving project. It incorporates strips of naturally dyed wool and silk fabric, as well as yarn.)
To add a branch across the top as a hanger, find a relatively straight branch that is a few inches longer than the width of your weaving. Lay it across the top of your weaving and tie each pair of warp strings around the branch to secure it.
Step 9: Hiding Your Ends.
On the back of your weaving, tuck the ends of both weft and warp strings into exposed loops on the back. It will look messy but that’s okay! No one will see it once you hang up your work.

Step 10: Hanging
Tie a piece of yarn, or a strip of fabric to the ends of the branch and hang your woven work of art!