
Dutch Oven Bread - a quick and easy recipe!
/This bread is a fan favorite when we bake it at summer camp. It doesn’t need a lot of attention so we can start it, go play in the forest for a while, and then come back to bake it. It only needs to rise once so we can finish it all, from measuring out the ingredients to polishing off the last slice, all within the three hour time frame of our family homeschool programs. It’s always a winner!
We bake it outside over coals but it works equally well in the oven. I’ve including our outdoor cooking method at the end of this post. Give it a try! It would be a great addition to your meals when you’re camping.
The Recipe
Ingredients:
1 cup warm water (We use the hottest water we get from the faucet)
2 1/4 teaspoon (or 1 packet) yeast
1 tablespoon sugar
3 cups flour
1 teaspoon salt
1 tablespoon oil - any kind
Combine warm water, yeast and sugar in a small bowl and set aside. Let it sit for 5 - 10 minutes. It should start to bubble ant look frothy - this is a sign that the yeast is working.
Measure flour and salt into a large bowl. Add yeast mixture and stir to combine.
Turn out onto a floured surface and knead until is it smooth and elastic. Form into a ball.
Coat a clean bowl with oil. Place dough in bowl and turn until all sides of the dough are coated with oil. This prevents it from drying and cracking as it rises.
Cover loosely with clean towel or plastic wrap and let rise in a warm place for 45 - 60 minutes. (The beautiful indigo-dyed dishtowels pictured in this post can be found in our shop!)
Place on lightly oiled baking sheet and score top with a knife if desired.
Bake at 400 for 20 - 25 minutes. (Alternative outdoor cooking method is described below.)


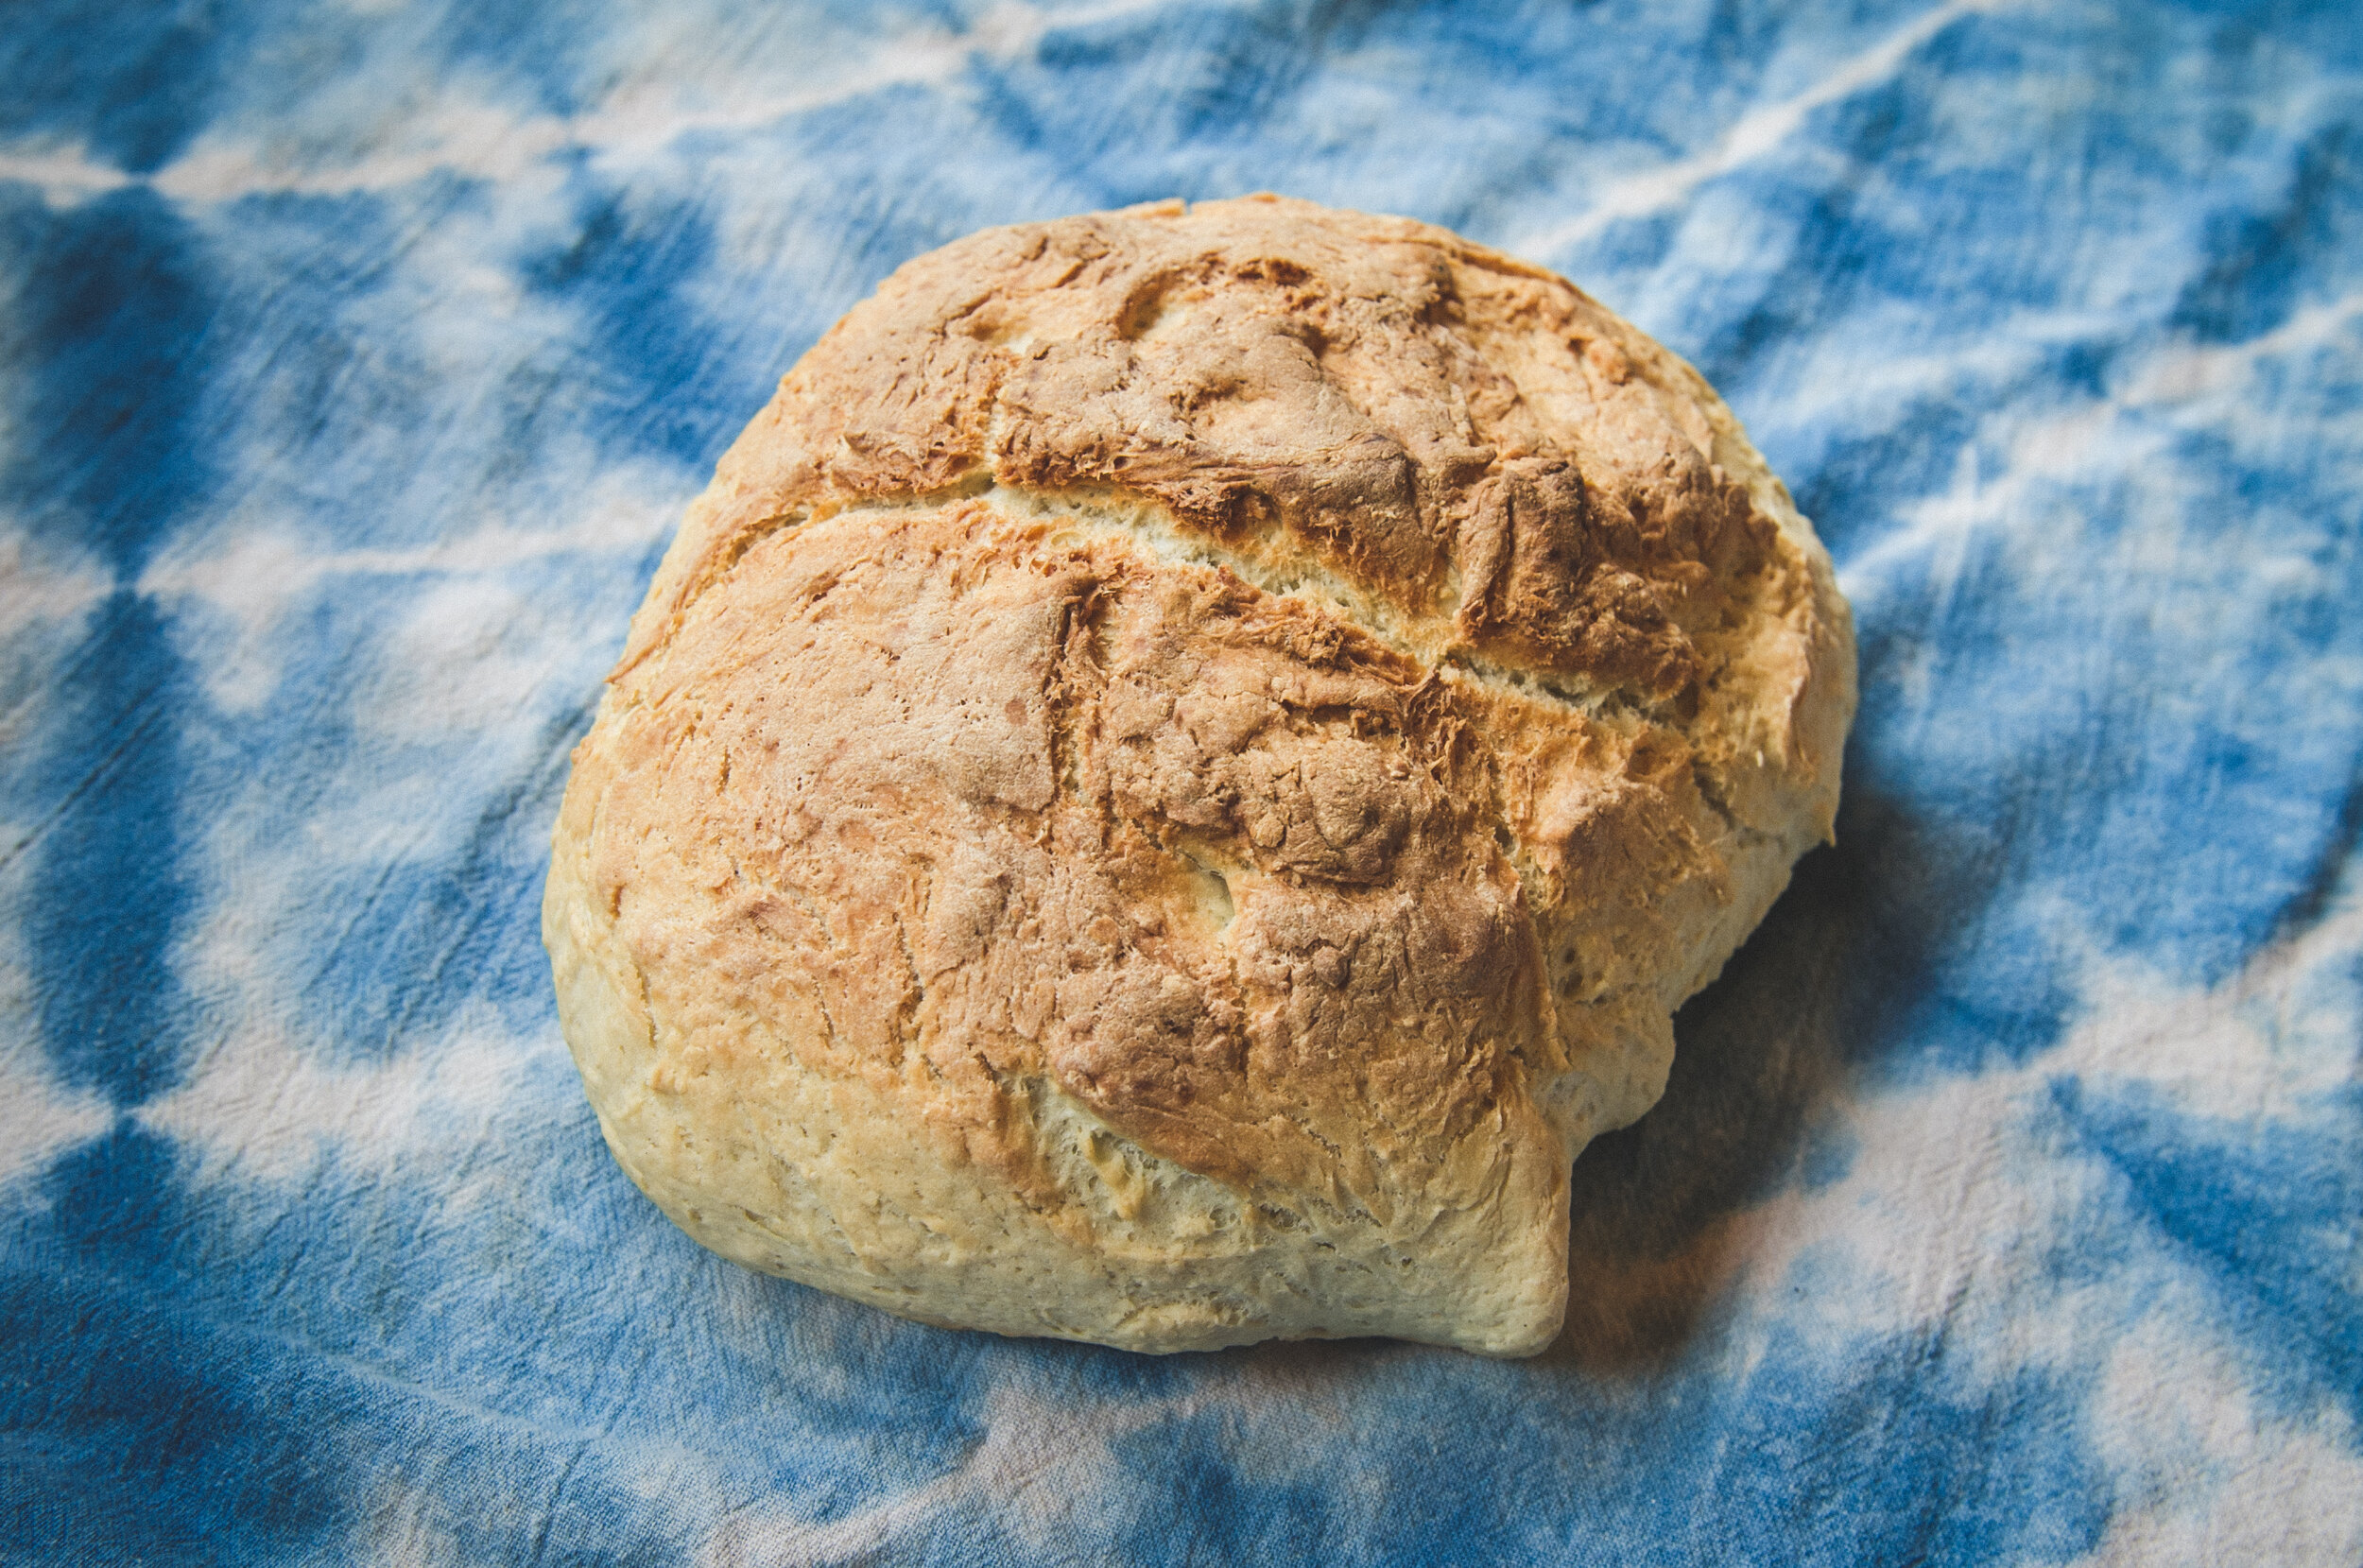
If you can wait, it’s best to let it cool a little before eating. We love it with butter and honey or jam but it’s delicious plain as well!

Dutch Oven Outdoor Baking
Baking this bread outdoors in a dutch oven takes a little more time than indoors but it’s really not hard. To bake this bread outdoors you will need:
cast iron dutch oven cooking pot with a lid
charcoal
firepit, barbecue grill, or other safe space to heat up charcoal
fireproof cooking area - we use an area lined with cinder blocks and concrete pavers
metal tongs
charcoal chimney, optional

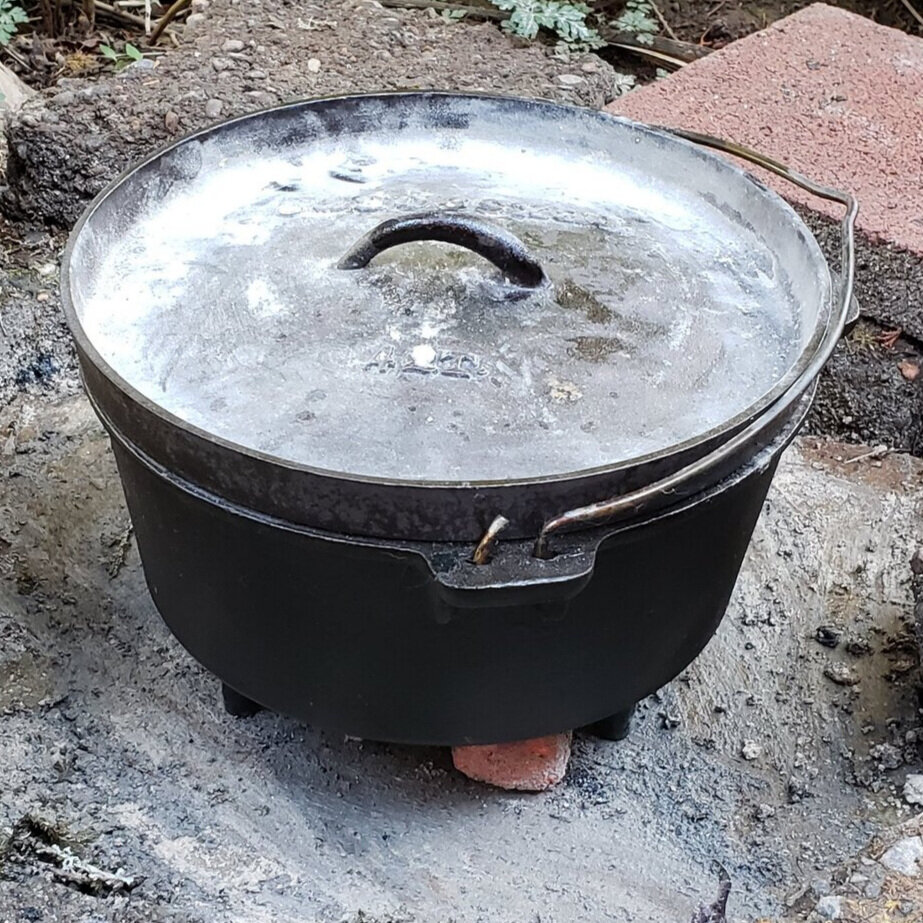
A note about the dutch oven you use: It needs to have feet on the bottom so that it is raised off of the ground an inch or so. It should also have a lip around the edge of the lid, as you can see in this photo. This will keep the hot coals (that you’ll place on top) where you want them and prevents ashes from spilling into the pot when you lift the lid.
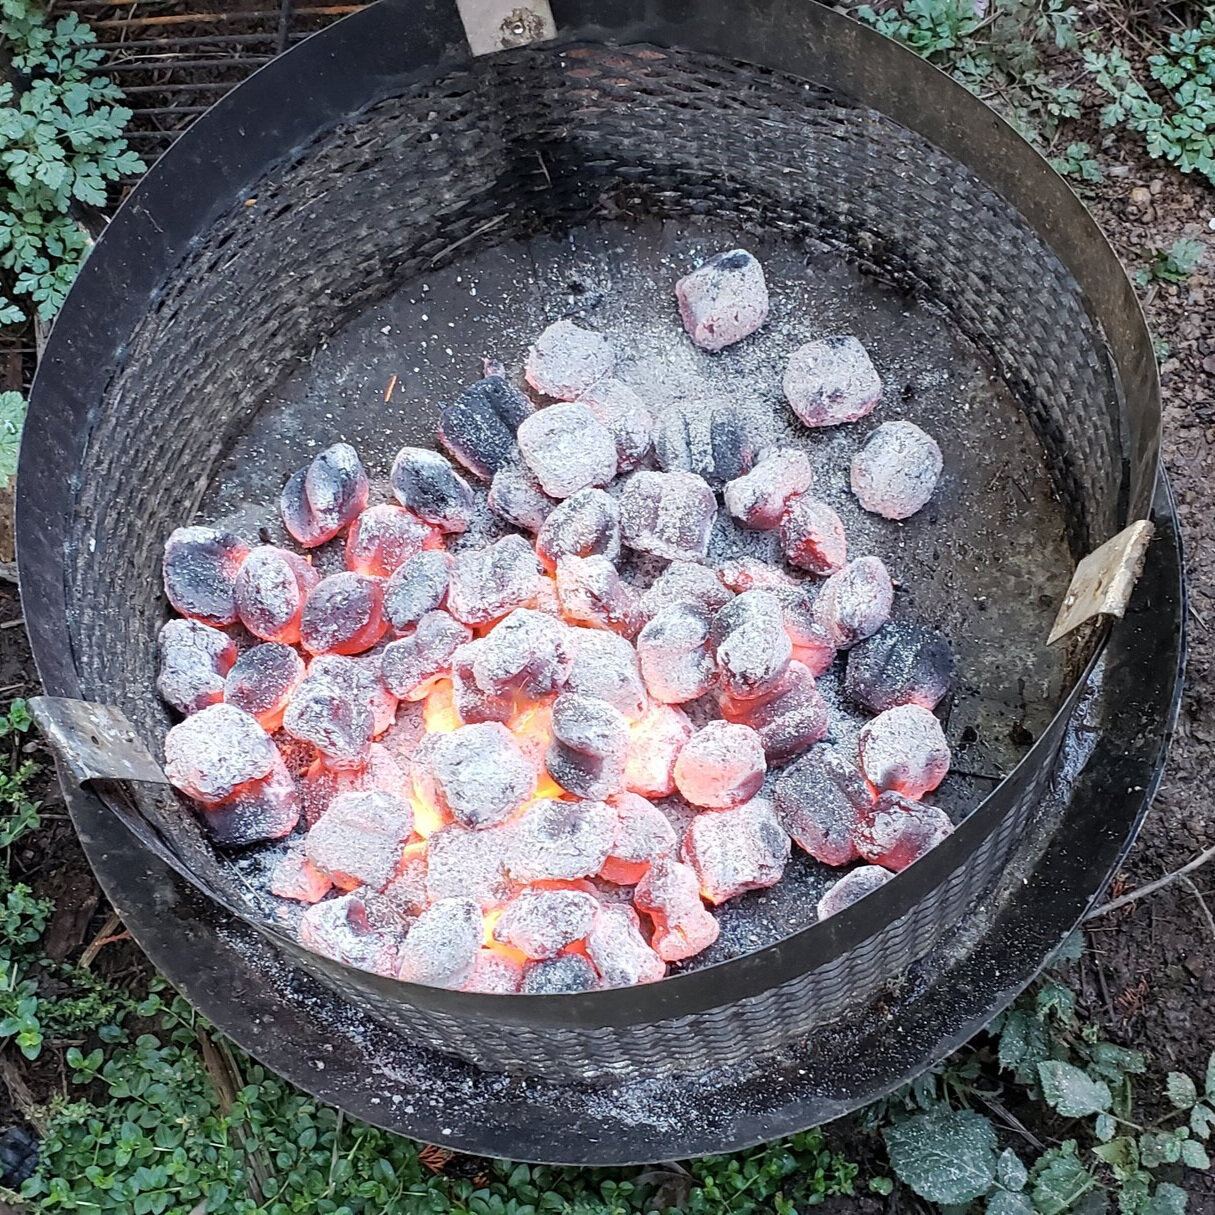
Using a charcoal chimney, if you have one, heat the charcoal. The chimney helps them heat up quickly. I usually start heating the coals 15 or 20 minutes before I expect the dough to finish rising. You want the coals to be nice and gray when you’re ready to bake the bread.
When the bread is ready to be baked, transfer it to the dutch oven.
Using metal tongs, place 10 - 12 coals under the dutch oven and 15 - 17 on the top.
In an indoor oven, heat cooks food from all sides, unlike a stovetop where the heat comes only from the bottom. By placing coals on the bottom and top of the dutch oven, it is truly turning the cast iron pot into an oven and the bread will bake evenly. I find the top cools faster since it has more exposure to the air so I always place more coals on the top than the bottom. Another thing to consider is that the dough is touching the bottom of the pot, while there is space between the dough and the coals on the lid.

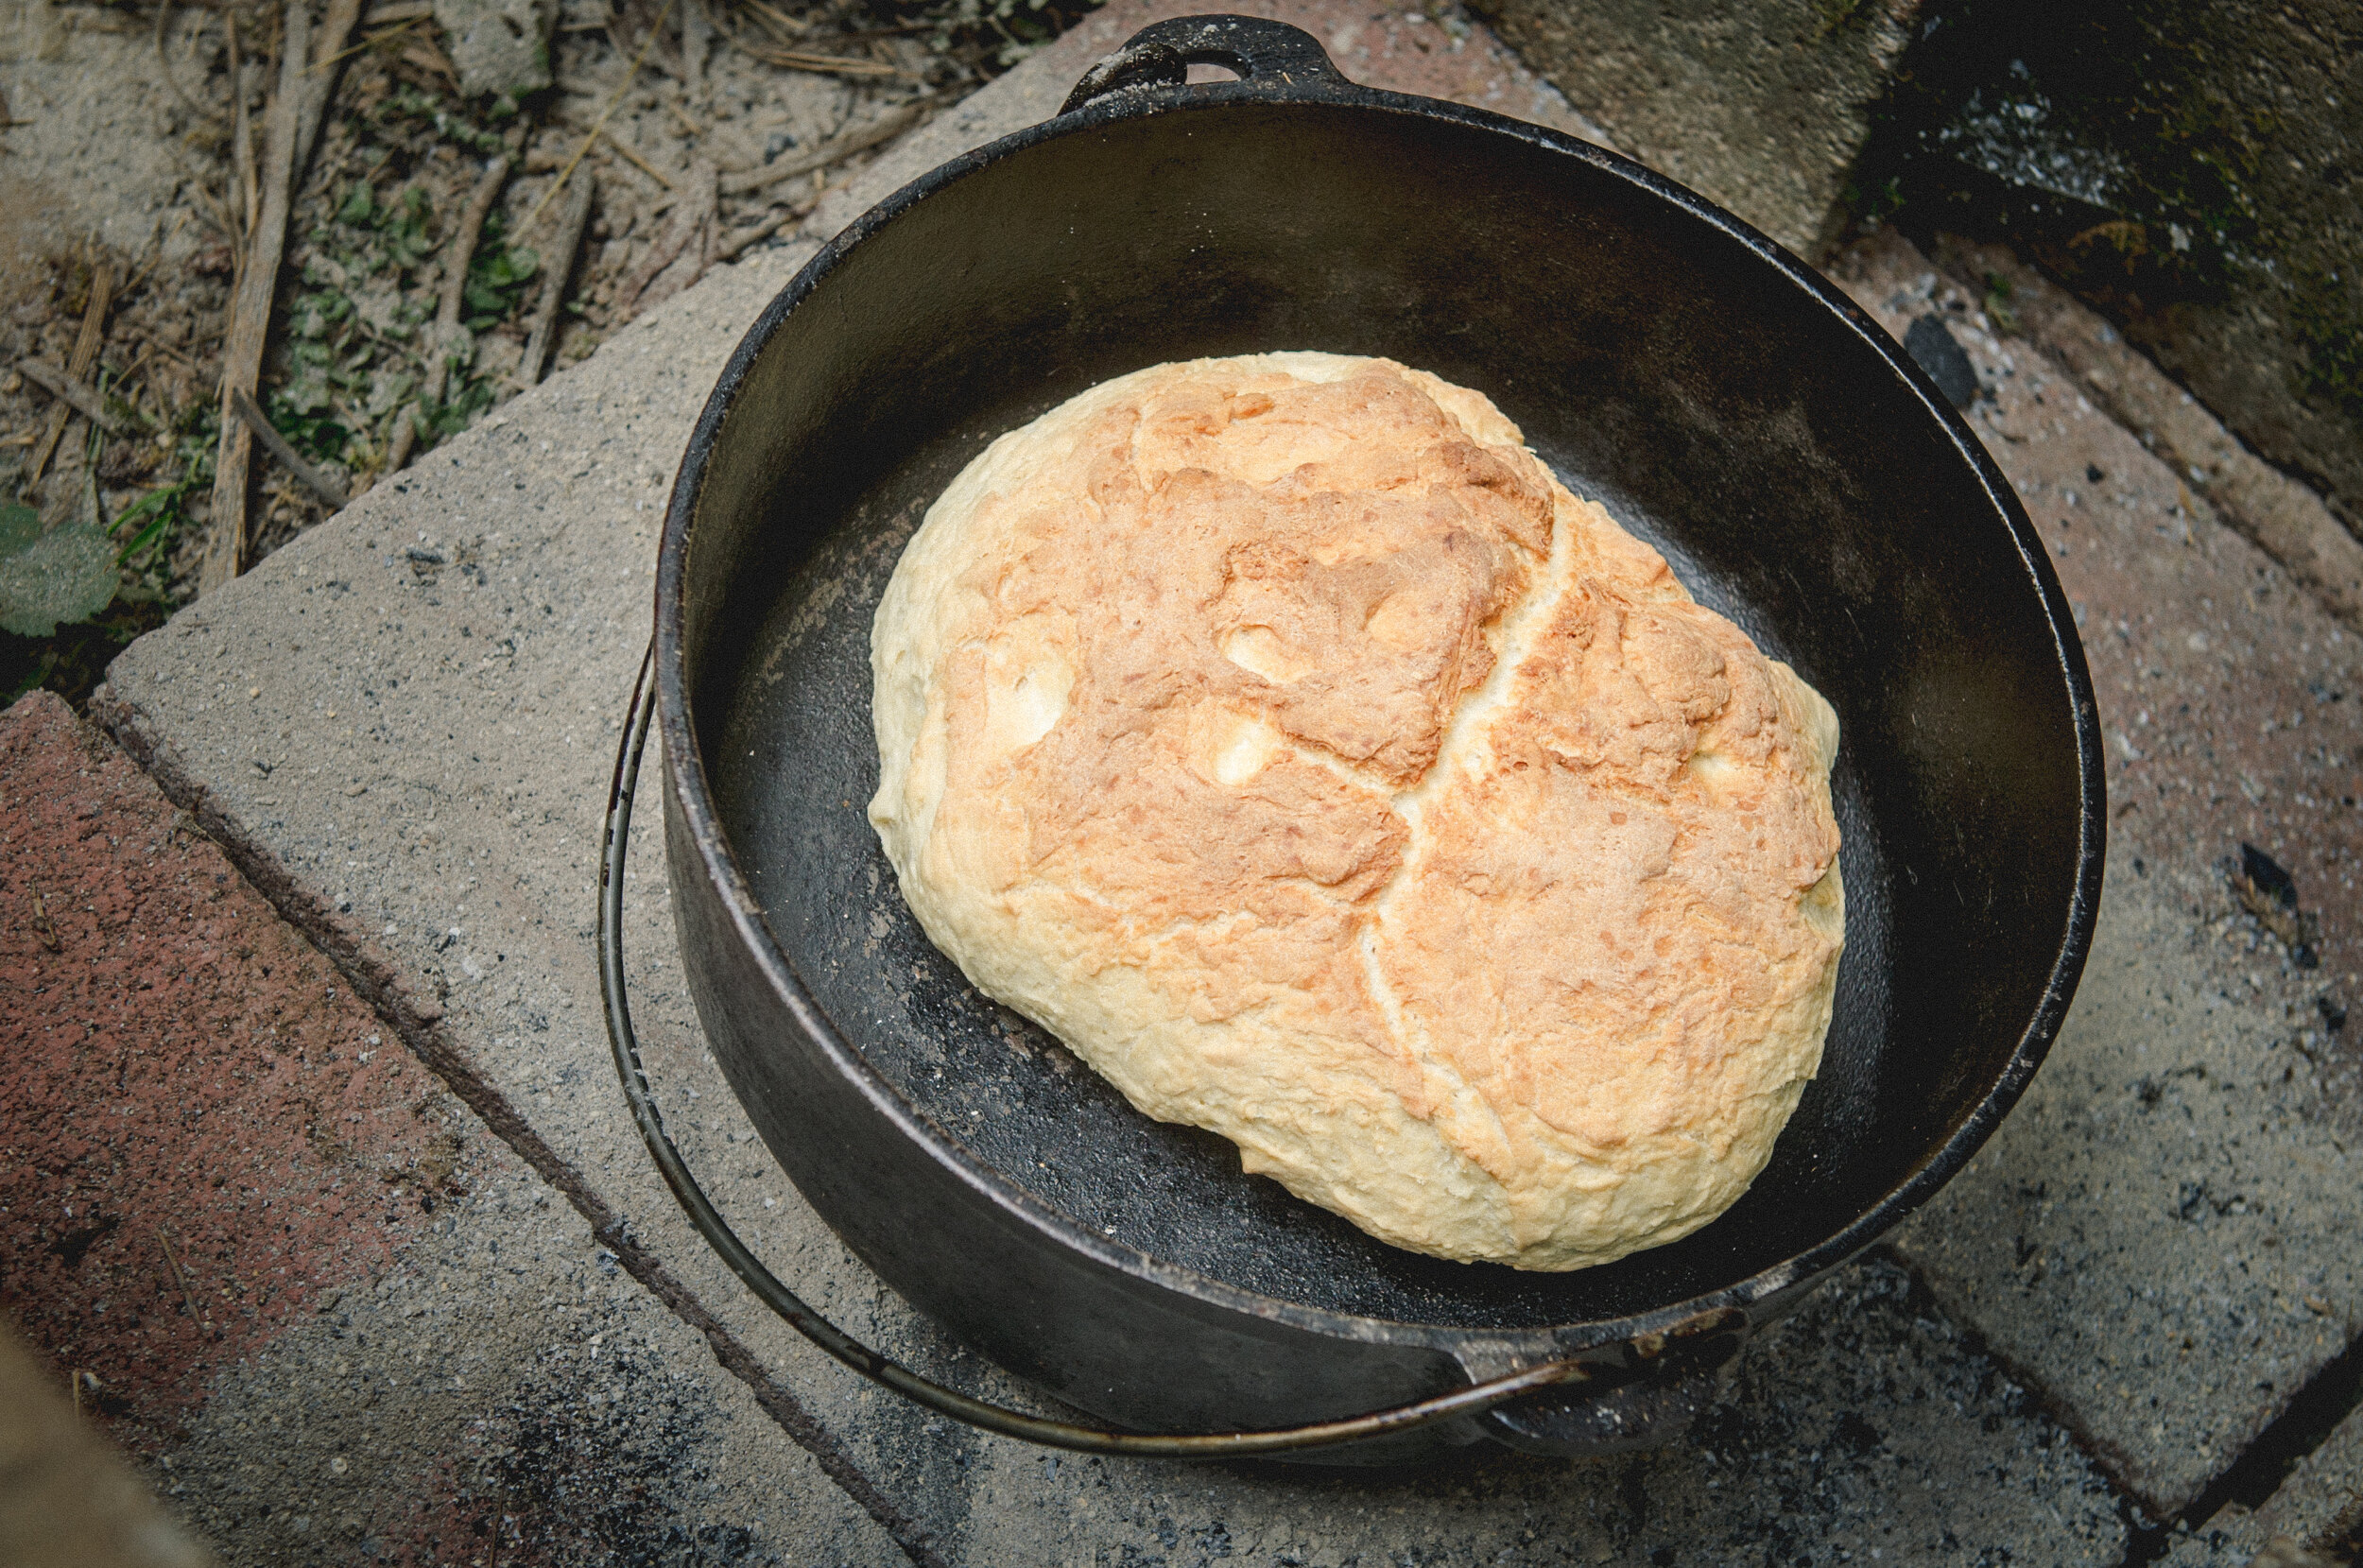
To check to see how the bread looks, carefully use tongs to lift the lid. Take care to keep lid level so ashes don’t fall onto your baking bread! It should start to look golden after about 20 minutes. I find it usually takes about 30 minutes to cook but the cook time is less consistent with this method than in an indoor oven. Check it periodically and once it’s developed a nice golden color and feels somewhat firm to the touch, it’s done!
This loaf would have been perfect with a few more minutes of cooking. Sometimes it’s hard to make the kids keep waiting so we eat it a little early but it’s still delicious.

You can see that the crust is more developed on this loaf. This one is perfectly baked!

Pin this image to save it for later and let me know if you try baking it outside!